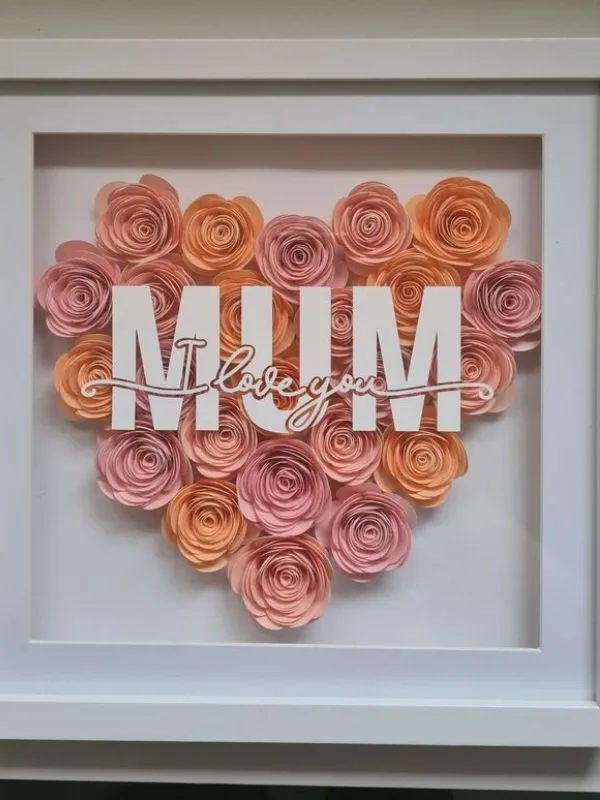
How I Made a Beautiful Mother’s Day Shadow Box (A Step-by-Step Guide From My Heart)
Mother’s Day has always been one of the most emotional and meaningful days of the year for me. Every time it comes around, I intentionally slow down to reflect on everything my mum has done, her sacrifices, her prayers, her encouragement, and her endless love.
Over the years, I have given flowers, cards, perfumes, and even handbags. Despite all of these gifts, I realized that no store, bought item could truly express my gratitude.
Therefore, I wanted something personal, something handmade, and something that would make her smile every single time she looked at it. After much thought, I decided to create a Mother’s Day shadow box.
In this guide, I will walk you through on How to Make a Mother’s Day shadow box exactly how I made mine, step by step.
You will learn about the materials I used, my design process, common mistakes to avoid, and practical tips to create your own keepsake, even if you have never tried DIY before.
By the end, you will have the tools and confidence to craft a gift that comes straight from the heart.
What Is a Shadow Box?
Before I began, I needed to understand what a shadow box actually is. Essentially, it is a deep picture frame that allows you to display objects, photos, and decorations inside.
Unlike regular frames, the depth lets you create a three-dimensional scene or mini display, almost like a tiny museum of memories.
Think of it as:
- A storytelling frame
- A memory holder
- A personal art display
- A keepsake box
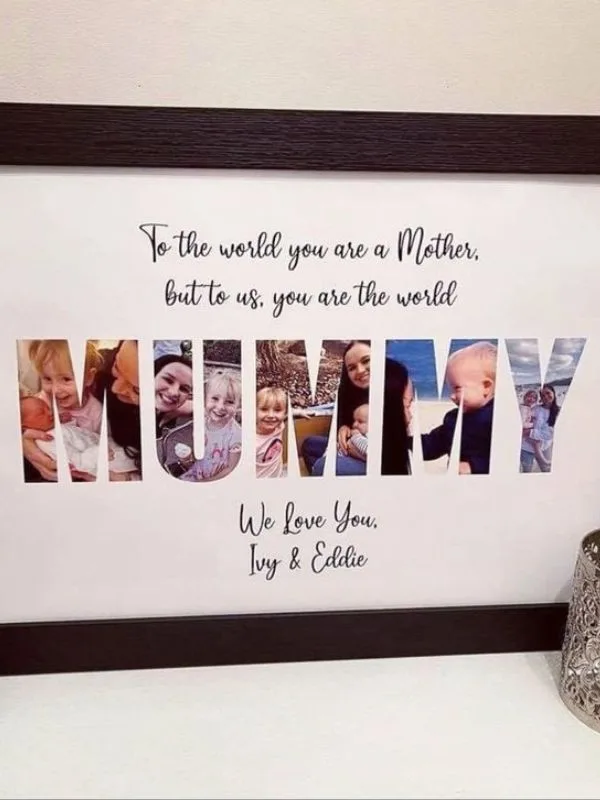
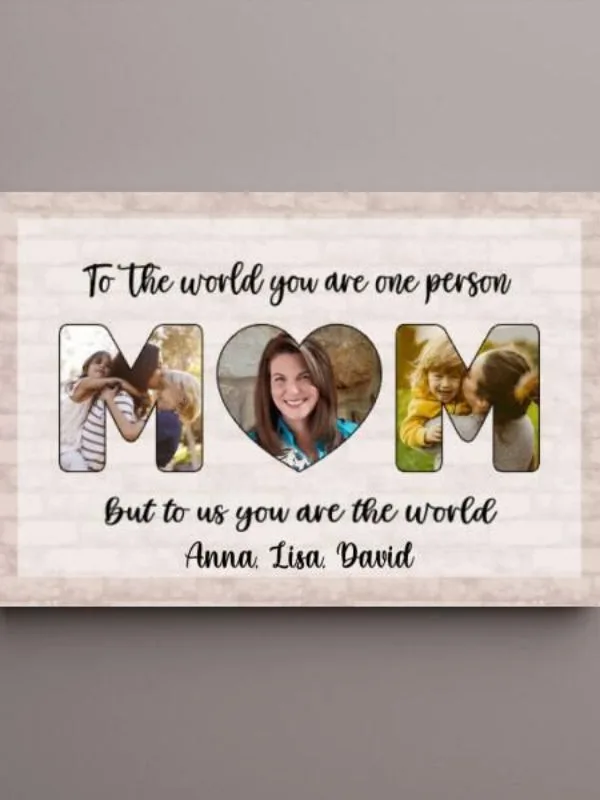
For Mother’s Day, it becomes a perfect way to combine photos, small gifts, and handwritten notes into a single, meaningful arrangement.
Additionally, it allows you to show thoughtfulness and attention to detail in a way that store bought gifts cannot match.
You might enjoy reading: The Ultimate Guide to Gift Giving Ideas That Show You Care
Why I Chose a Shadow Box
I chose a shadow box for several reasons.
- First, it is personal, allowing me to craft something unique.
- Second, it lasts for years, preserving memories in a way that flowers or chocolates cannot.
- Third, it tells a story, combining visuals and messages that reflect our shared history.
Finally, it shows effort, demonstrating that I truly care and invested time in creating something meaningful.
When I gave my mum a handmade shadow box, I hoped she would feel, “I didn’t just buy this; I created it with love.”
Moreover, mothers often notice and treasure these thoughtful gifts far more than expensive items. In fact, the emotional value of a handmade gift can surpass its monetary worth by far.
Gathering Materials
Before beginning, I gathered all the materials to ensure a smooth process. Having everything ready beforehand saves time and reduces stress.
Main Materials:
- Shadow box frame (available online or at craft stores)
- Cardstock or decorative paper
- Printed photos
- Foam board or cardboard
- Craft glue or hot glue gun
- Double-sided tape
Decorative Items:
- Artificial flowers
- Ribbons
- Stickers
- Beads
- Buttons
- Mini hearts
- Pearl decorations
- Wooden letters (optional)
Writing Materials:
- Pen or marker
- Printed quotes
- Calligraphy pen (optional)
Tools:
- Scissors
- Ruler
- Pencil
- Tweezers (for small decorations)
You don’t need to purchase everything new. In fact, improvising with items from home often makes the gift more personal and budget friendly.
Creativity and thoughtfulness matter more than money, and these small details make a lasting impression.
How I Made a Beautiful Mother’s Day Shadow Box
Step 1: Choosing a Theme

Choosing a theme is one of the most important steps. To begin, I asked myself, “What story do I want this box to tell about my mum?” After careful consideration, I decided on: “A Lifetime of Love and Sacrifice.”
Other ideas include:
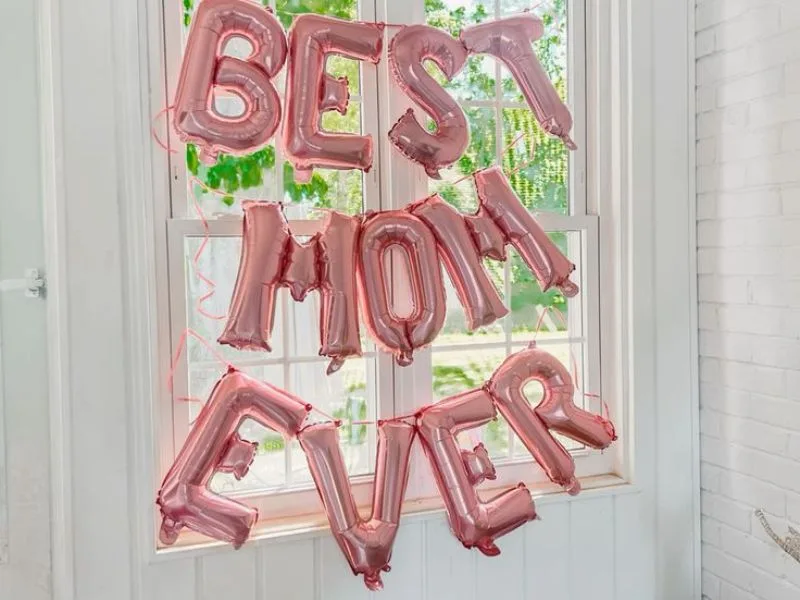
- “Best Mum Ever”
- “My First Teacher”
- “My Safe Place”
- “My Forever Hero”
- “Queen of Our Home”
By deciding on a clear theme first, every design choice became easier. Moreover, the theme helps the shadow box feel cohesive, ensuring each element contributes to a unified story.
Step 2: Selecting Photos
Once the theme was chosen, I focused on selecting photos that captured meaningful moments. Rather than picking images at random, I prioritized:
- Childhood memories
- Graduation milestones
- Family gatherings
- Everyday happy moments
- Nostalgic old pictures
I printed five photos in small sizes. Additionally, using matte photo paper worked best because it looked elegant and avoided glare.
Smaller photos also allowed room for decorations and quotes, making the arrangement inside the shadow box easier.
Step 3: Designing the Background
The background sets the foundation for the shadow box. After evaluating options, I chose soft pink cardstock because it looked feminine, complemented my flowers, and created a calm, warm feeling.
Other options include:
- Plain colors for simplicity
- Floral patterns for charm
- Polka dots for playfulness
- Marble textures for elegance
- Scrapbook paper for added depth
Next, I measured the inside of the frame carefully and cut the paper to fit perfectly. Then, I glued it neatly to the back panel.
By doing this first, I ensured a polished base before layering photos and decorations.
Step 4: Planning the Layout
Before using any glue, I arranged all items inside the shadow box. This planning step prevented mistakes and allowed me to try different arrangements.
I positioned:
- Photos
- Quotes
- Flowers
- Decorative items
After moving things around, I ensured the composition felt balanced, the center remained clear, and every word and image was readable.
To preserve the layout, I took a photo with my phone. This way, I could step away and return later without losing my plan.
You may also find helpful: 13 Perfect Boyfriend Birthday Gifts: From Budget-Friendly to Luxury
Step 5: Writing a Heartfelt Message
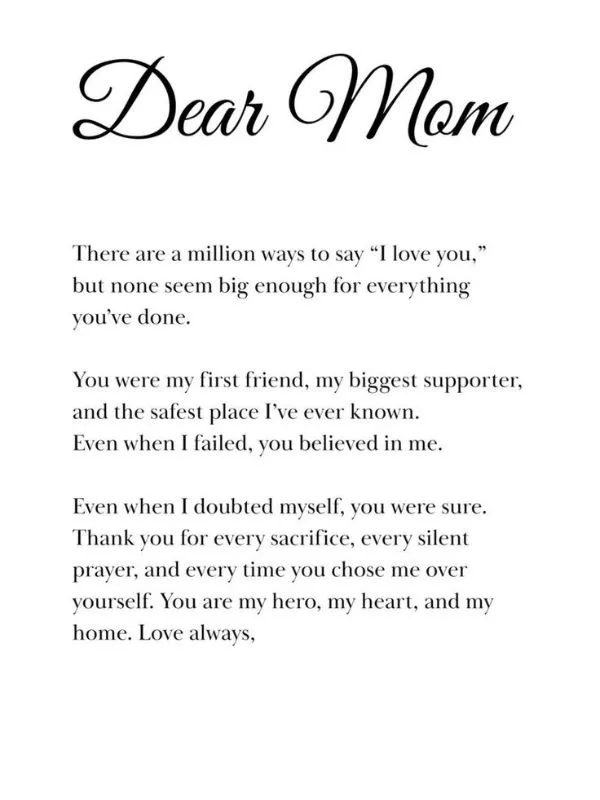
Adding a personal message was the most emotional part. I wrote:
“Thank you for loving me when I didn’t deserve it, for praying for me when I didn’t know I needed it, and for believing in me when I doubted myself. I love you forever.”
Other options include:
- Short letters
- Poems
- Bible verses
- Favorite quotes
The key is sincerity. When words come from the heart, they resonate deeply. Additionally, pairing the message with photos and decorations enhances the emotional impact.
Step 6: Mounting Photos for Depth

Instead of gluing photos flat, I lifted them with small foam pads to create a three-dimensional effect. If foam pads are unavailable, cardboard squares work well as substitutes.
By layering items in this way, the shadow box became visually more interesting and professional. Furthermore, varying the depth allows each photo and decoration to stand out individually.
Step 7: Arranging Decorative Elements
Next, I added decorative touches:
- Flowers in the corners
- Ribbon along one edge
- Mini hearts around the message
- Pearls around a special photo
I followed the principle: less is more. Overcrowding reduces impact. Each decoration should have a purpose, contributing to the overall story.
In addition, balance is key, and a few well placed items often look better than filling every inch of space.
Step 8: Securing Everything
Once satisfied with the layout, I glued the items carefully. I began with background elements, then added photos, followed by the message, and finally decorations. Allowing each section to dry before moving on ensured nothing shifted or fell out of place.
As a result, the shadow box remained tidy and well structured.
Step 9: Adding 3D Layers
To create visual interest, I used foam board to make raised platforms. Some photos sat closer to the glass, while others were deeper inside the box.
This layering technique makes the display feel dynamic, almost like a miniature museum of memories.
Step 10: Cleaning and Framing
Before sealing the frame, I cleaned the glass with a soft cloth to remove fingerprints. I also checked alignment, loose decorations, and any glue smudges. A clean, polished presentation ensures the shadow box looks professional and appealing.
For more insight: 12 Romantic Birthday Gifts for Your Girlfriend She’ll Absolutely Love
Step 11: Wrapping and Presenting
Presentation adds another layer of thoughtfulness. I wrapped the shadow box in brown craft paper, tied a pink ribbon around it, and attached a handwritten tag that read:
“To the best mum in the world. With all my love.”
Simple touches like this make a big difference. Moreover, it signals care and effort without requiring extra expense.
Common Mistakes to Avoid
Through trial and error, I learned to avoid:
- Using too much glue
- Overcrowding the box
- Mixing too many colors
- Using blurry or low quality photos
- Rushing the process
Taking your time ensures a polished, thoughtful, and meaningful result.
Budget Friendly Tips
You don’t need to spend much to make a beautiful shadow box.
Consider:
- Reusing old frames
- Printing photos at home
- Using magazine cutouts
- Making paper flowers
- Recycling cardboard
Ultimately, creativity and intentionality matter more than cost.
Here’s a closer look at : 7+ Unique Personalized Gifts That Show You Truly Care
How My Mum Reacted
When I presented the shadow box, she paused, smiled, hugged me tightly, and whispered:
“This is the best gift I’ve ever received.”
In that moment, all the planning, effort, and love I poured into the project felt completely worth it.
Why Handmade Gifts Matter
Handmade gifts communicate effort, time, thought, and love. Unlike store bought items, they carry your energy and emotions.
In fact, the personal touch often makes them unforgettable, creating lasting memories and deepening emotional connections.
Creating a Mother’s Day shadow box taught me that love is best expressed through intentional actions.
Even if your first attempt is imperfect, starting and creating something from your heart is what truly matters. With time, effort, and thoughtfulness, you can craft a gift your mum will treasure forever.
Frequently Asked Questions
1. Do I need to be a skilled crafter?
Not at all. Shadow boxes are beginner friendly, and even simple designs can look beautiful with care and thought.
2. How much time does it take?
Depending on the complexity, it can take a few hours to a day. Planning layouts and gathering materials beforehand saves time.
3. Can I make it budget friendly?
Absolutely. Reuse old frames, print photos at home, and make decorations from paper or recycled materials.
4. What kind of message should I include?
Write from the heart. A short letter, poem, or meaningful quote works best. Avoid generic phrases; personal touches resonate more.
5. How can I make it unique?
Add 3D layers, mix textures, and include keepsakes like pressed flowers, buttons, or small mementos. Personal photos and handwritten notes always make it special.
This post showed you How to Make a Mother’s Day shadow box.