This Post will Guide You On How to Make Simple Funky Nails at Home (Step-by-Step Guide for Beginners).
If there’s one thing I love, it’s nails that make me smile every time I look at my hands. I don’t always have the time or money to sit in a salon, so I started creating simple funky nails at home.
It’s easier than it looks, and you can achieve stylish results with a few basic tools and some creativity.
In this guide, I’ll walk you through everything from prepping your nails to adding fun designs.
Whether you’re a beginner or just looking for inspiration, these steps will help you create cute, expressive nails without stress.
If you are looking to understand 20 Must-Try Simple Spring Nail Ideas I’m Loving Right Now
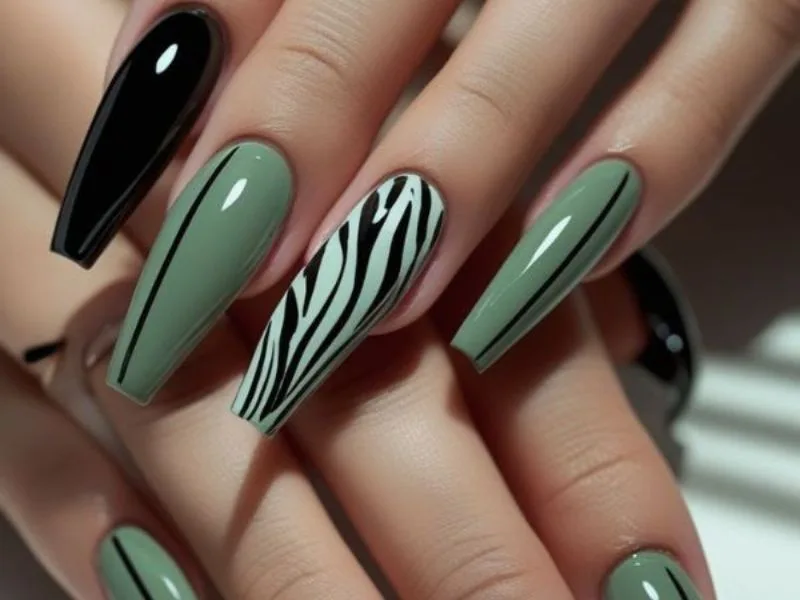
What Are Simple Funky Nails?
Simple funky nails are:
- Bright, bold colors
- Fun patterns like swirls, dots, and smiley faces
- Mismatched designs
- Easy abstract art
- Playful combinations
The goal isn’t perfection , it’s fun, expressive, and unique nails that show personality even if you’re new to nail art.
Why Funky Nails Are Perfect for Beginners
Creating simple funky nails at home is fun and allows you to show your personality. Moreover, it gives you freedom to experiment with colors, patterns, and shapes without pressure.
1. Express Yourself Through Colors
First, funky nails let you play with bright or pastel colors. Mismatched nails or accent designs make your manicure unique and eye-catching. Therefore, color experimentation is both creative and rewarding.
2. Easy to Learn and Customize
Next, these designs are forgiving. Swirls, dots, or abstract patterns don’t require perfection. As a result, you can practice at your own pace and customize your nails to match your mood or outfit.
3. Saves Time and Money
In addition, doing nails at home saves money and time. With just a few polishes and basic tools, you can create stylish looks while improving your skills.
4. Boosts Confidence and Creativity
Finally, fun nail designs help you feel confident and creative. Trying new colors and patterns encourages experimentation and adds a personal touch to your style.
This article dives into Modern and Chic Christmas Nails Ideas for Women to Elevate Your Festive Style
How to Make Simple Funky Nails at Home (Step-by-Step Guide for Beginners)
Step 1: Prep Your Nails
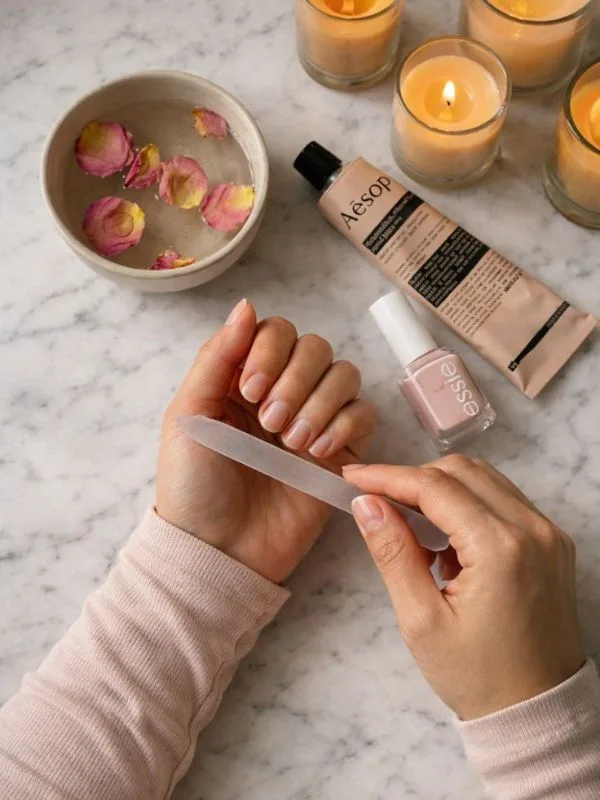
Proper nail prep is key for long lasting designs.
a. Remove Old Polish
Use non acetone remover for gentle cleansing, acetone for glitter.
b. Trim and Shape
Choose a shape: short square, rounded, or almond. File in one direction to prevent splitting.
c. Push Back Cuticles
Gently push back cuticles for a neat polish application.
d. Buff Lightly
Remove shine to help the base coat stick.
e. Clean With Alcohol
Wipe nails with rubbing alcohol to remove oils.
Prep makes a huge difference, nails look professional from the start.
For more insight Wedding Nails for Bride: Elegant & Timeless Designs for the Big Day
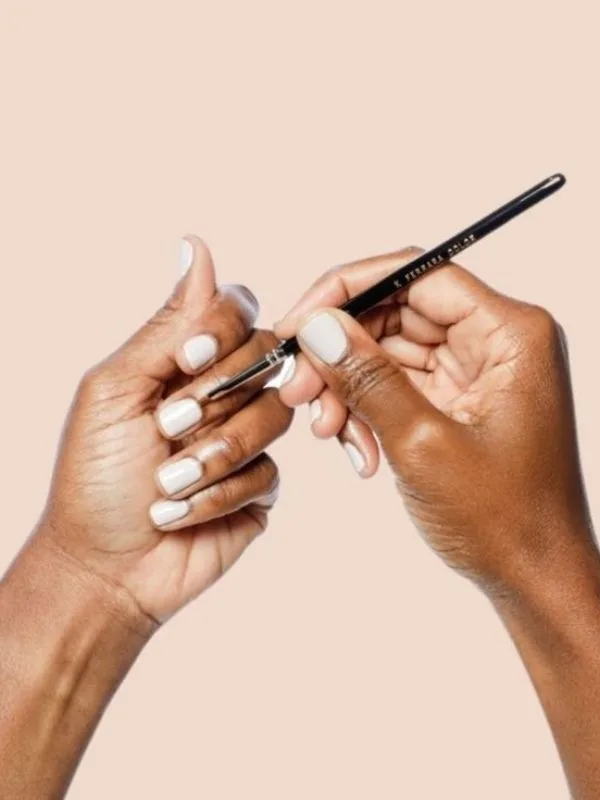
Step 2: Apply a Base Coat
Base coat protects nails from staining, helps polish adhere, and extends the manicure’s life. Apply a thin layer and let it dry completely.
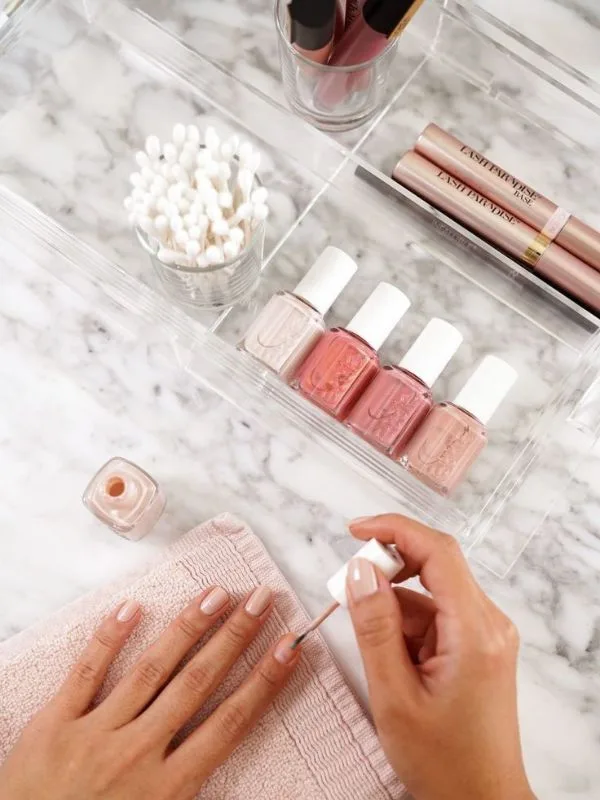
Step 3: Choose Funky Color Combinations
Pick 2–3 colors you love. Popular combinations include:
- Bright pink + orange
- Neon green + white
- Blue + yellow
- Pastel mixes
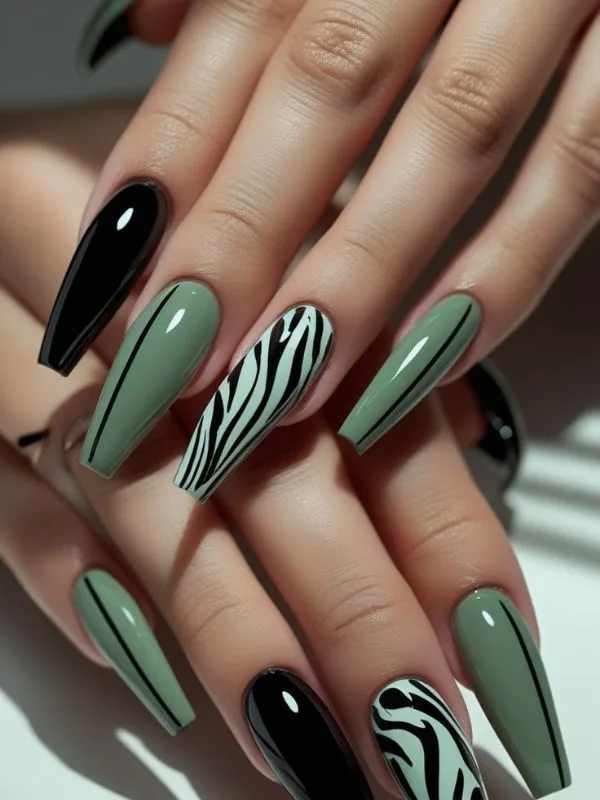
- Black + bold colors
Mismatched nails are easy and instantly creative. Lay all polishes out to visualize the palette.
Step 4: Apply Base Color
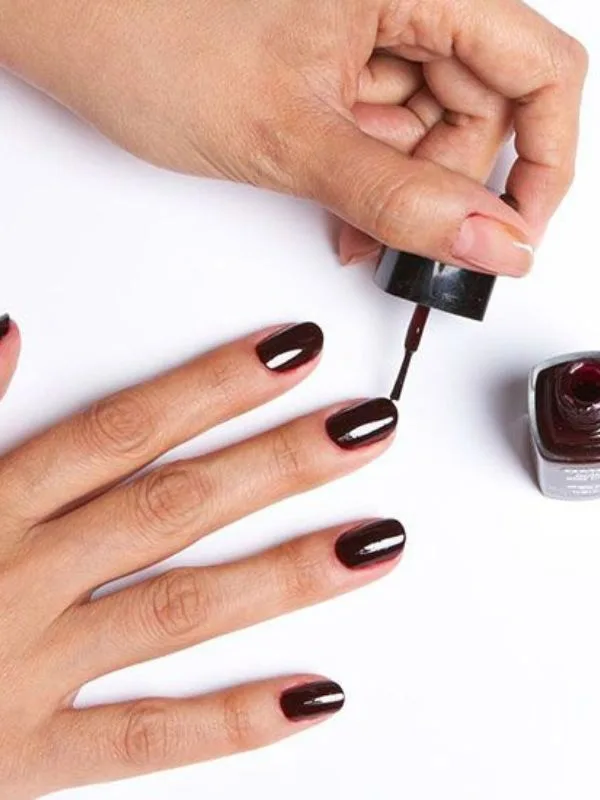
Apply one thin coat, wait 2–3 minutes, then apply a second coat. Thin layers dry faster and prevent bubbling. If doing designs, let the base color dry completely before adding art.
If you are looking to understand She’s a Catch: Bachelorette Party Ideas to Celebrate the Bride-to-Be
Step 5: Add Funky Designs
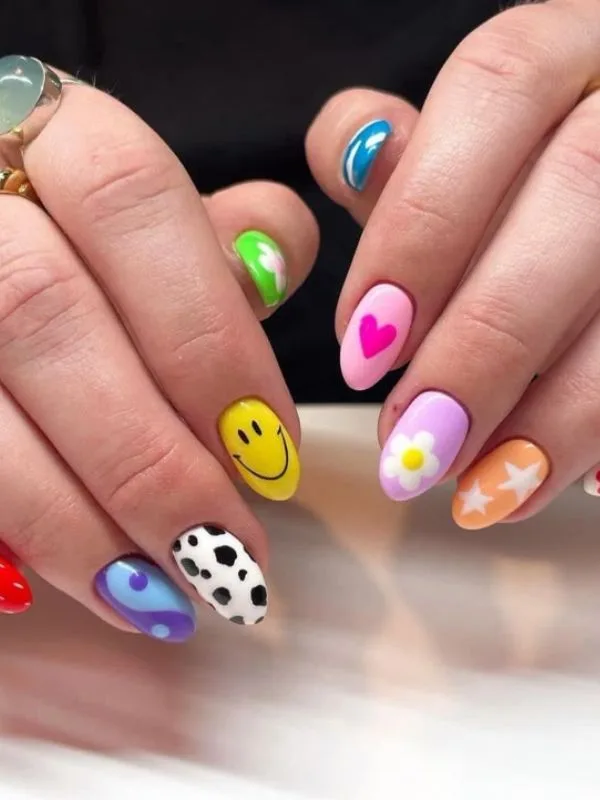
Try these beginner friendly designs:
1. Swirls
Use a thin brush or toothpick. Draw curved lines in different colors. Keep shapes natural for a casual look.
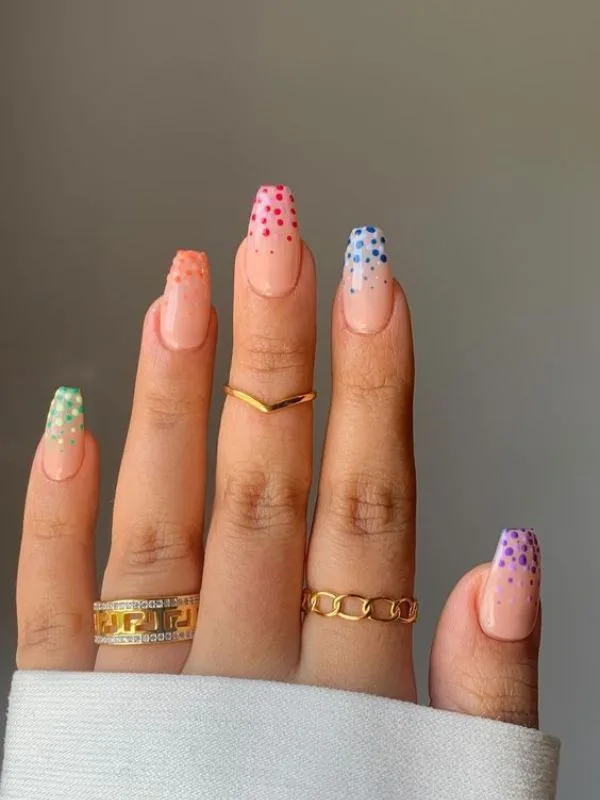
2. Dots
Use a dotting tool, toothpick, or bobby pin to make polka dots, tiny flowers, or random patterns.
3. Smiley Faces
Draw a small yellow circle, add two black dots for eyes, and a curved smile. Imperfection adds charm.
4. Abstract Art
Combine shapes, lines, colors, and negative space. No rules needed.
5. Funky French Tips
Swap classic white for neon, glitter, or wavy tips.
6. Checkerboard Accent
Use a thin brush or tape to create small squares on one or two nails.
Step 6: Clean Up Edges
Dip a small brush in acetone and clean around cuticles. This instantly makes nails look polished.
Here’s a closer look at How I Made a Beautiful Mother’s Day Shadow Box (Step-by-Step)
Step 7: Seal With Top Coat
Top coat adds shine and protects your design. Apply one thin layer and cap the tips. Choose glossy for shine or matte for a trendy effect.
How to Make Your Funky Nails Last
- Avoid water for one hour after finishing
- Wear gloves while washing dishes
- Reapply top coat after 2–3 days
- Don’t use nails as tools
These steps can make your manicure last 7–10 days.
Simple Funky Nail Ideas
- Pink base + orange swirls
- Nude base + colorful dots
- Pastel mismatched nails
- White base + neon abstract lines
- Half-and-half color nails
- One glitter accent nail
- Black base + colorful stars
Common Mistakes Beginners Make
- Applying thick coats that smudge
- Not waiting for layers to dry
- Skipping base coat
- Rushing top coat
- Overloading designs
Keep it simple. Less clutter creates a cleaner, stylish look.
Tips for Beginners
Starting out with funky nails can feel intimidating, but it doesn’t have to be. With a few simple tips, you can create playful, stylish designs that look great and are fun to do.
1. Start Simple
Begin with easy designs like dots, stripes, or mismatched nails. Simple patterns are forgiving and allow you to practice without pressure.
Once you feel comfortable, you can gradually try swirls, abstract designs, or accent nails.
2. Limit Your Colors
Use 2–3 colors at first. Too many colors can feel overwhelming and make the design look busy.
Focusing on a small palette helps you understand which combinations work well together and gives your nails a cohesive, stylish look.
You might be interested in reading The Best Loc-Safe Heatless Curls for Defined, Healthy Locs
3. Don’t Aim for Perfection
Remember, funky nails are meant to be playful, not perfect. Imperfections add character and make your nails unique.
Even if a line isn’t straight or a dot isn’t exactly round, it still looks cute and creative.
4. Practice on One Nail
Before painting all your nails, try the design on one finger first. This helps you get a feel for the brush, polish, and color combinations.
Once you’re happy with the result, you can confidently replicate it on the other nails.
5. Keep It Fun
Most importantly, enjoy the process. Funky nails are a way to express yourself and experiment with your style.
Don’t stress about mistakes, every manicure is an opportunity to be creative, learn new techniques, and make your hands look playful and stylish.
Tips for Mastering Funky Nail Designs
Even though simple funky nails are beginner friendly, there are ways to make them look more polished and professional.
1. Plan Your Color Palette
Before painting, place all your colors together. This helps you visualize combinations and prevents clashing.
2. Start Small
Try designs on one nail first. It allows you to practice swirls, dots, or abstract lines without committing to every finger.
3. Use Tools Creatively
Dotting tools, toothpicks, and thin brushes make patterns easier. Even tape or stickers can create sharp lines for geometric designs.
4. Layer Colors Properly
Thin layers dry faster and reduce smudging. Wait a few minutes between coats for cleaner results.
5. Mix Styles
Combine dots with swirls or add one glitter nail to break monotony. Mismatched nails are trendy and forgiving for beginners.
You might enjoy reading 20 Must-Try Simple Spring Nail Ideas I’m Loving Right Now
By following these tips, your funky nails will look intentional and fun. Moreover, small adjustments like edge cleanup and top coat application make a huge difference in the final look.
Why I Love Funky Nails
Doing nails at home is more than just a beauty routine, it’s creative, relaxing, and confidence boosting.
Funky nails do more than look cute; here’s why I love them:
1. Self-Expression
Nails are a tiny canvas. Every color, pattern, or design shows my mood or personality. Bright neons feel bold, pastels feel dreamy, and mismatched nails let me experiment freely. Each manicure becomes personal and intentional.
2. Creativity
Funky nails are like mini art projects. Swirls, dots, abstract designs — every nail is a little masterpiece.
Even simple designs give me a sense of accomplishment while helping me explore colors and patterns.
3. Relaxation
The process is calming. Sitting with brushes, polish, and designs gives me focus and mindfulness.
Watching each nail come together is satisfying and makes the whole experience peaceful and fun.
4. Confidence
Looking at nails I made myself is empowering. Funky designs feel bold and playful, and they draw compliments.
Each manicure boosts my confidence and reminds me I can create something beautiful.
5. Possibilities
I love the freedom of trying endless designs. I can match nails to outfits, experiment with colors, or try bold trends. Nothing is “wrong,” which keeps every session exciting.
6. DIY Joy
The best part? I did it myself. No salon, no professional tools, just creativity and patience. It’s satisfying knowing these nails are completely mine.
You might be interested in reading Relationship Vision Board Ideas to Attract the Love You Deserve
Simple funky nails are an easy way to feel stylish without spending much money. All you need is a few colors, basic tools, patience, and creativity.
Start simple, try dots or swirls, and experiment with colors. Funky nails reflect your personality, so there’s no wrong way to do them.
FAQs on Simple Funky Nails
1. How long does it take to do funky nails at home?
It usually takes 30–60 minutes depending on the complexity of your design. Simple dots or mismatched nails are quicker than swirls or abstract patterns.
2. What tools do I need for beginner funky nails?
A base coat, nail polish colors, thin brush, dotting tool or toothpick, top coat, and nail cleanup brush are sufficient.
3. How can I make my nail designs last longer?
Avoid water for one hour after finishing, wear gloves while washing, and reapply top coat every 2–3 days.
4. Can I use glitter or neon colors?
Yes! Glitter adds sparkle, and neon colors pop. Just make sure to use thin layers and let each coat dry.
5. Do I need professional skills to create funky nails?
Not at all. Simple shapes, dots, and mismatched designs work perfectly for beginners. The goal is fun, not perfection.
This Post Showed You How to Make Simple Funky Nails at Home (Step-by-Step Guide for Beginners).