Every October the same debate starts in my group chat: go full costume goth with the nails, or keep it cute enough for the office on November first? Pink and black ends the argument.
The combo delivers Halloween without the commitment issues. Black brings the drama, pink keeps it wearable, and together they land in that sweet spot between spooky and pretty.
The 36 designs below run the whole range, from sheer pink with black micro tips to full stiletto claws in neon.
Some take twenty minutes with a striping brush. Others are strictly a salon appointment. Pick your intensity and keep scrolling.
Finding Your Pink-to-Black Ratio Before You Commit
Decide your mood first, then your ratio. A sheer pink base with black detailing reads playful and office safe, while a black base with pink accents leans dramatic and night-out ready.
The finish matters as much as the colors. Matte black absorbs light and feels modern and moody, but it shows every chip. Glossy black looks wetter and more classic Halloween.
On the pink side, a milky sheer pink softens the whole manicure, while hot pink chrome turns it into a statement.
Tell your nail tech exactly where you want each color to live. “Black base, pink art” and “pink base, black art” are two completely different manicures with different maintenance needs.
Black bases show regrowth faster and demand more precise cuticle work. Pink bases are more forgiving between appointments.
If you are unsure, ask for the pink as the dominant color with black as the detail shade. You can always go darker next time.
Save for later 40+ Fall Nail Colors for 2026 You’ll Want to Try First
Matte Black Coffin Nails with Hot Pink French Tips
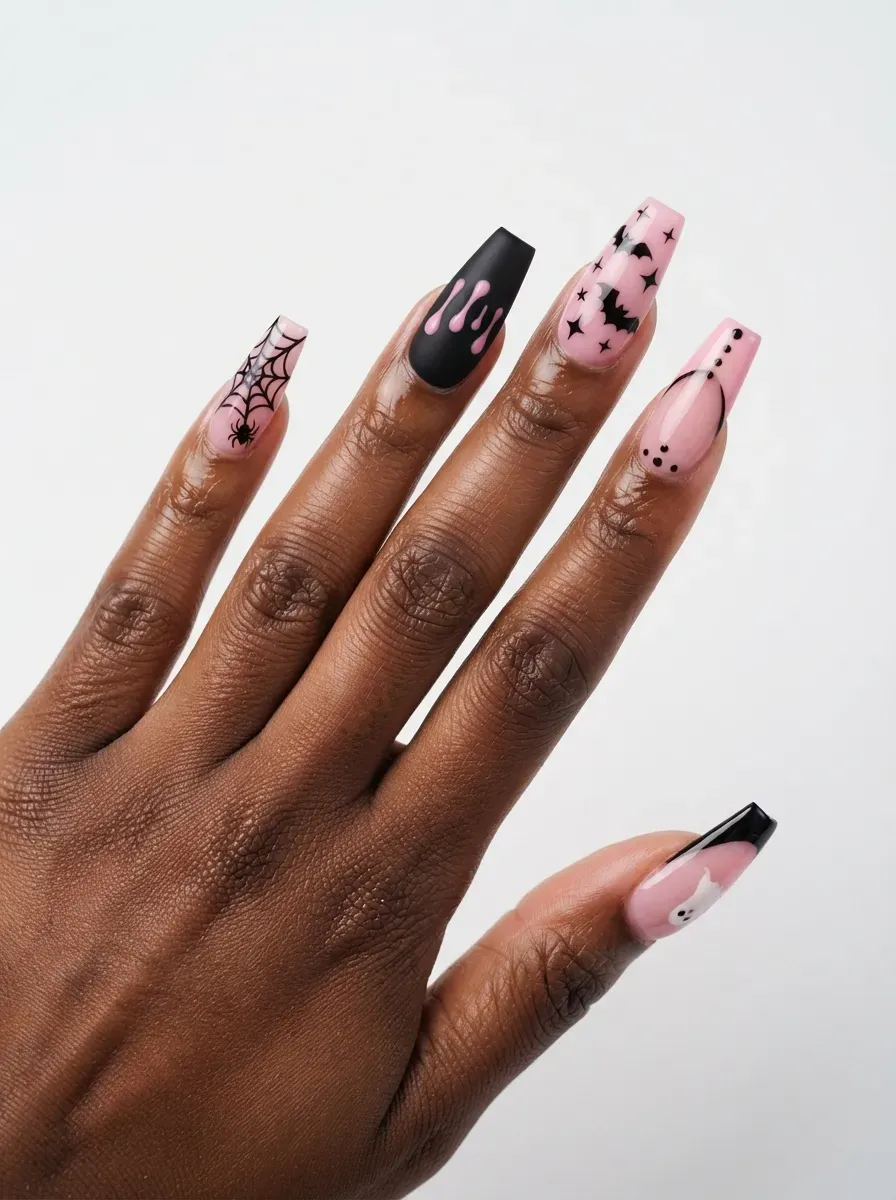
The French tip gets a Halloween rewrite here. A matte black base keeps things dark and velvety, while hot pink tips add a jolt of color where the eye lands. Coffin shape gives enough length for the pink to read clearly.
Matte top coat needs maintenance to stay velvety. Keep cuticle oil at your desk and apply daily. Ask your tech to cap the free edge twice for extra wear.
Black Spiderweb Nail Art over Sheer Pink
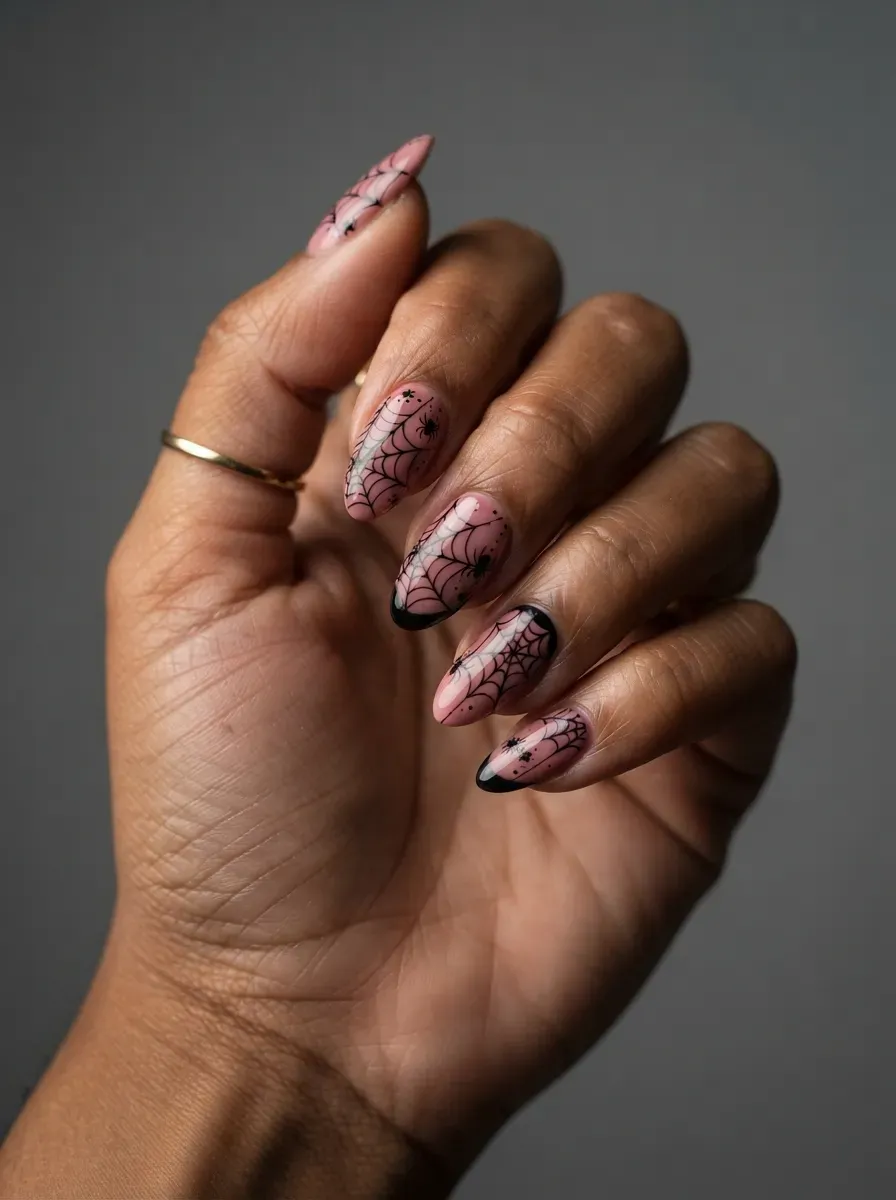
Sheer pink acts as a clean canvas that keeps black web lines crisp and graphic.
Thin striping brush work creates the web effect, usually starting from one corner and radiating outward. The transparent base keeps the design from feeling heavy.
Web lines smudge easily before top coat, so avoid touching anything between layers. A quick-dry top coat seals the fine lines without dragging them.
Pink and Black Ombre Stiletto Nails
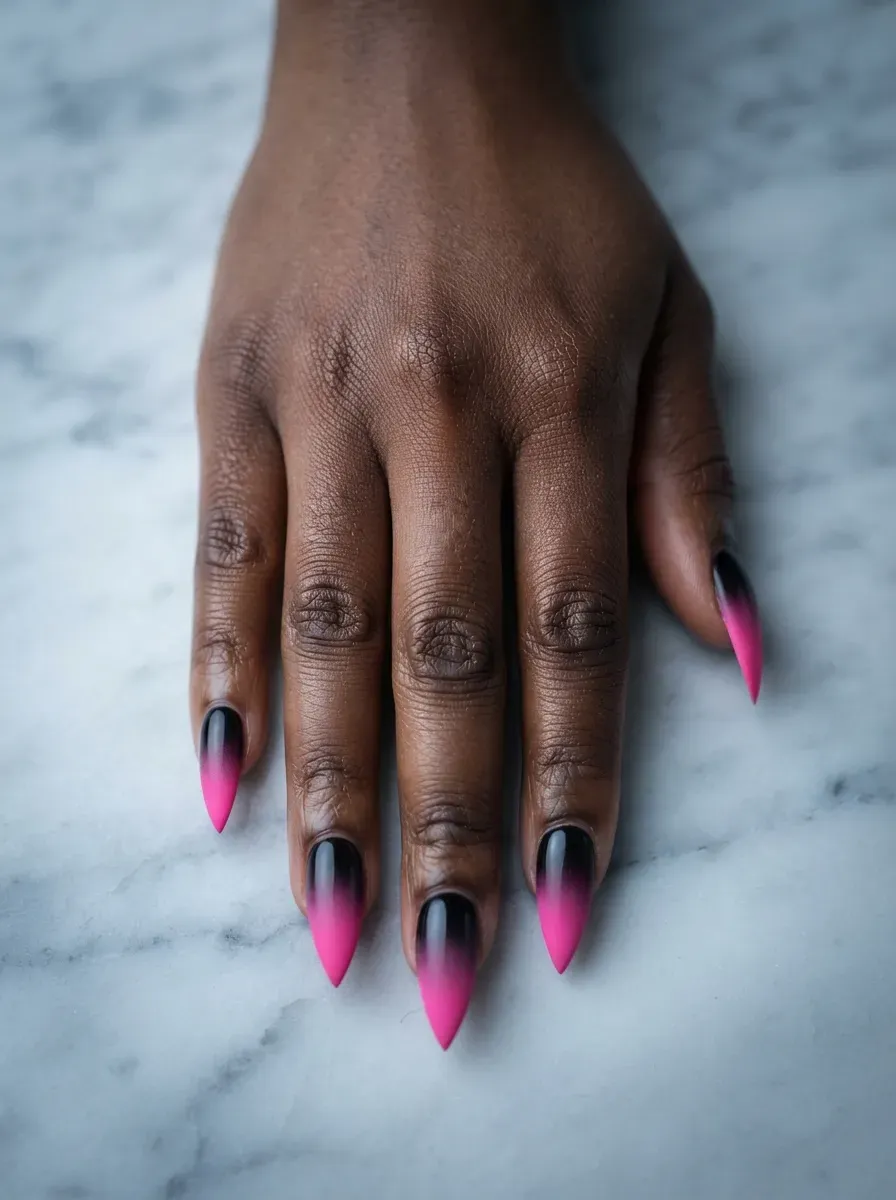
The gradient melts from hot pink at the cuticle into deep black at the tip, which makes stilettos look even sharper.
Airbrushing gives the smoothest blend, though a skilled tech can sponge it. Black at the tip hides wear better than pink would.
Ombre grows out gracefully, buying you extra days between appointments. Book a fill at two and a half weeks rather than two.
Hot Pink Chrome on Short Black Almond Nails
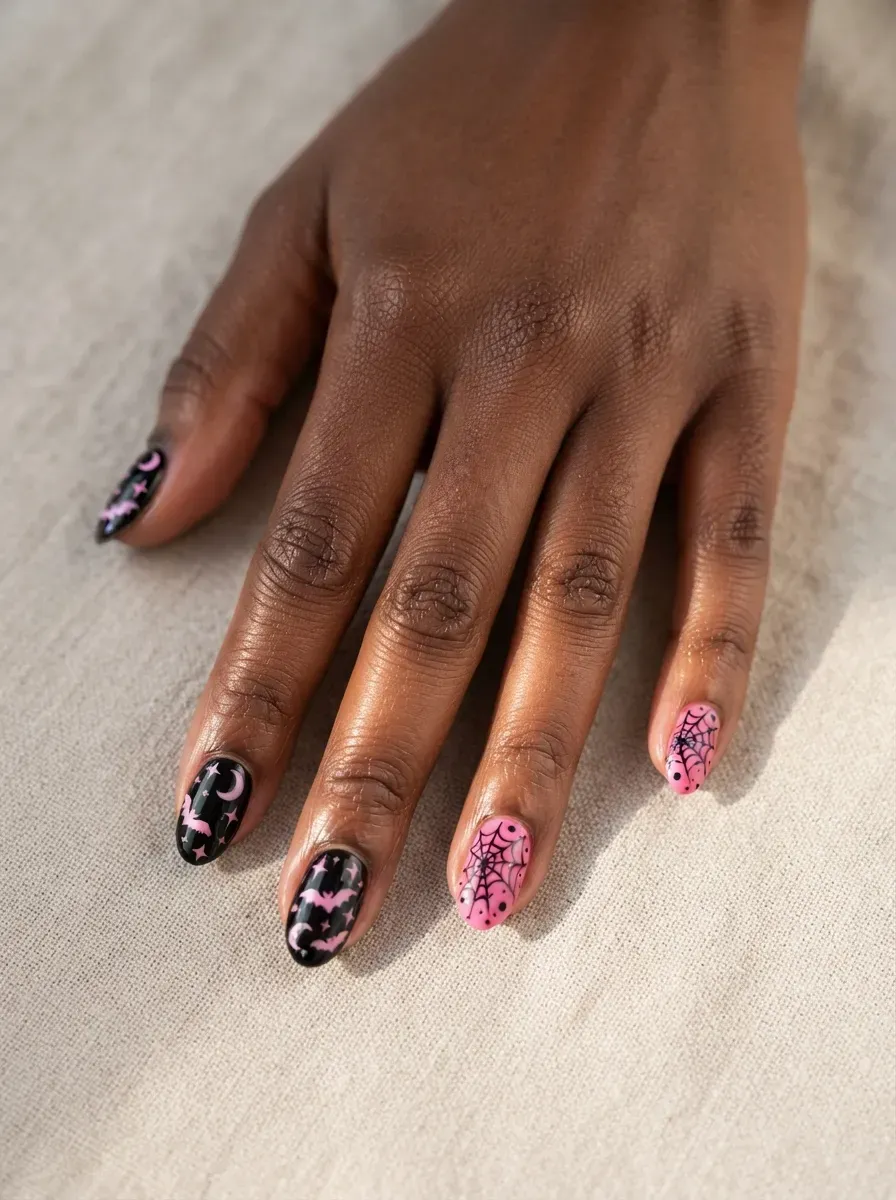
Chrome powder rubbed over a black base creates that liquid metal pink that shifts in the light.
Keeping the length short makes the high-shine finish practical for typing and everyday tasks. Almond shape softens the intensity just enough.
Chrome shows fingerprints on the nail surface, so wipe with a dry microfiber cloth. The mirror effect lasts longest when you avoid harsh hand soaps.
Black Cat Eye Nails with Pink Heart Accents
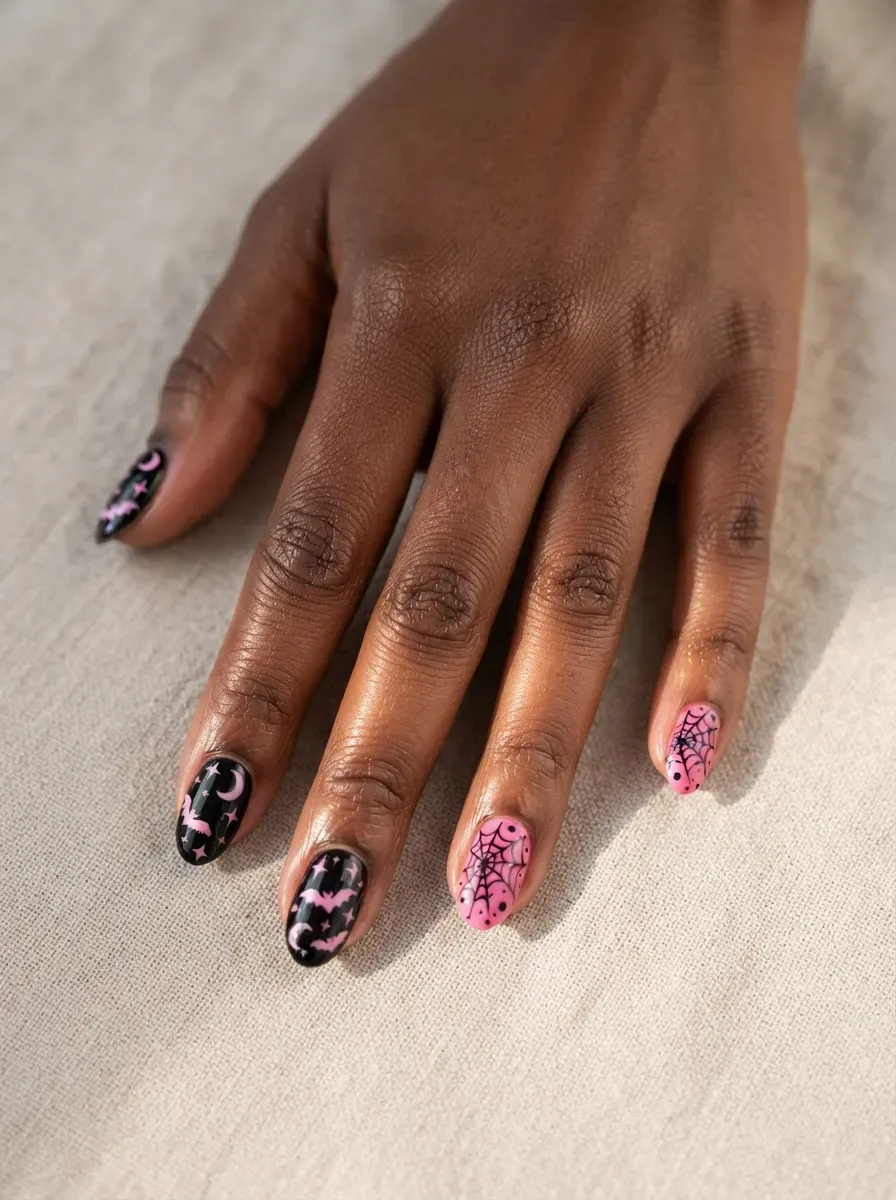
Magnetic cat eye polish over black creates a smoky dimensional base that moves when you tilt your hand.
Tiny pink hearts stamped on one or two accent nails add a sweet counterpoint without tipping into cute overload. The contrast keeps the look firmly Halloween.
Hold the magnet steady for a full ten seconds per nail. Rushing this step gives you a blurry effect instead of a sharp line.
See now Creepy Halloween Nails Inspired by Horror Movies
Pink Bloody Drip Tips on Glossy Black
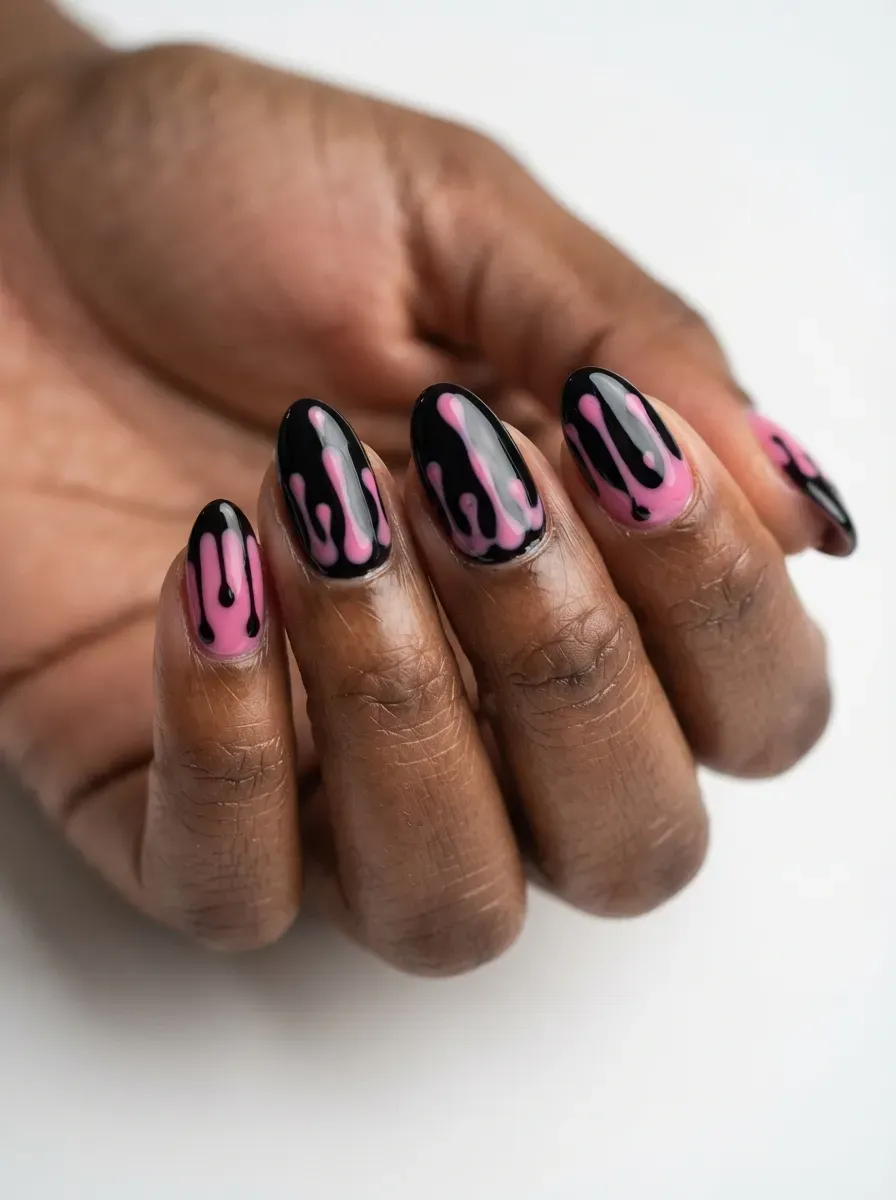
Glossy black nails get a horror-movie update with pink drips melting down from the tips.
The high shine makes the pink look wet and fresh, which sells the effect. A dotting tool or the polish brush itself creates the uneven drip lengths.
Vary the drip lengths across nails for a more organic look. Uniform drips read as a pattern rather than a spooky accident.
Black and Pink Half-Moon Manicure
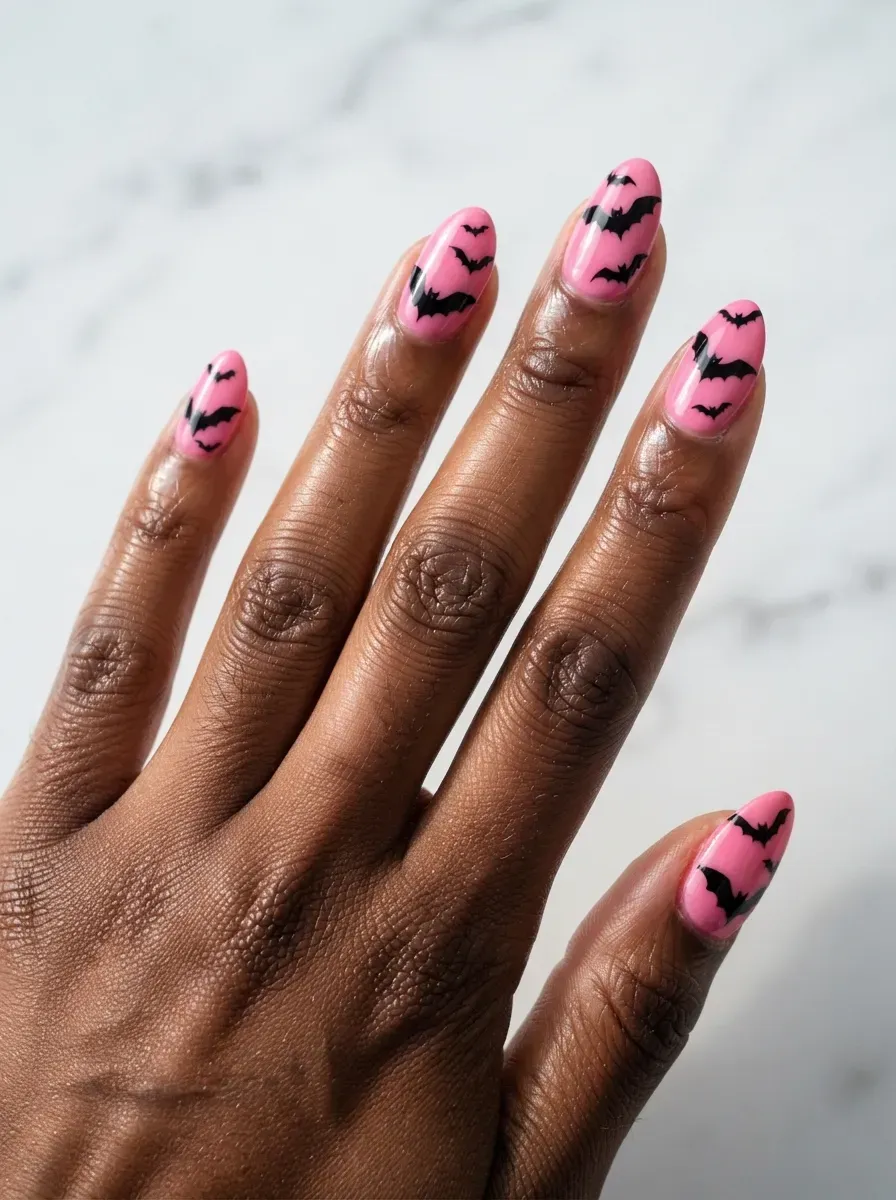
This vintage-inspired design flips the classic half-moon by painting the moon black against a pink base.
The curved line at the cuticle draws the eye and makes nails look longer. It works on any length, which makes it one of the most adaptable designs here.
Use reinforcement stickers as guides for a clean curve. The design grows out beautifully since regrowth blends into the pink base.
Neon Pink Bat Silhouettes on Matte Black
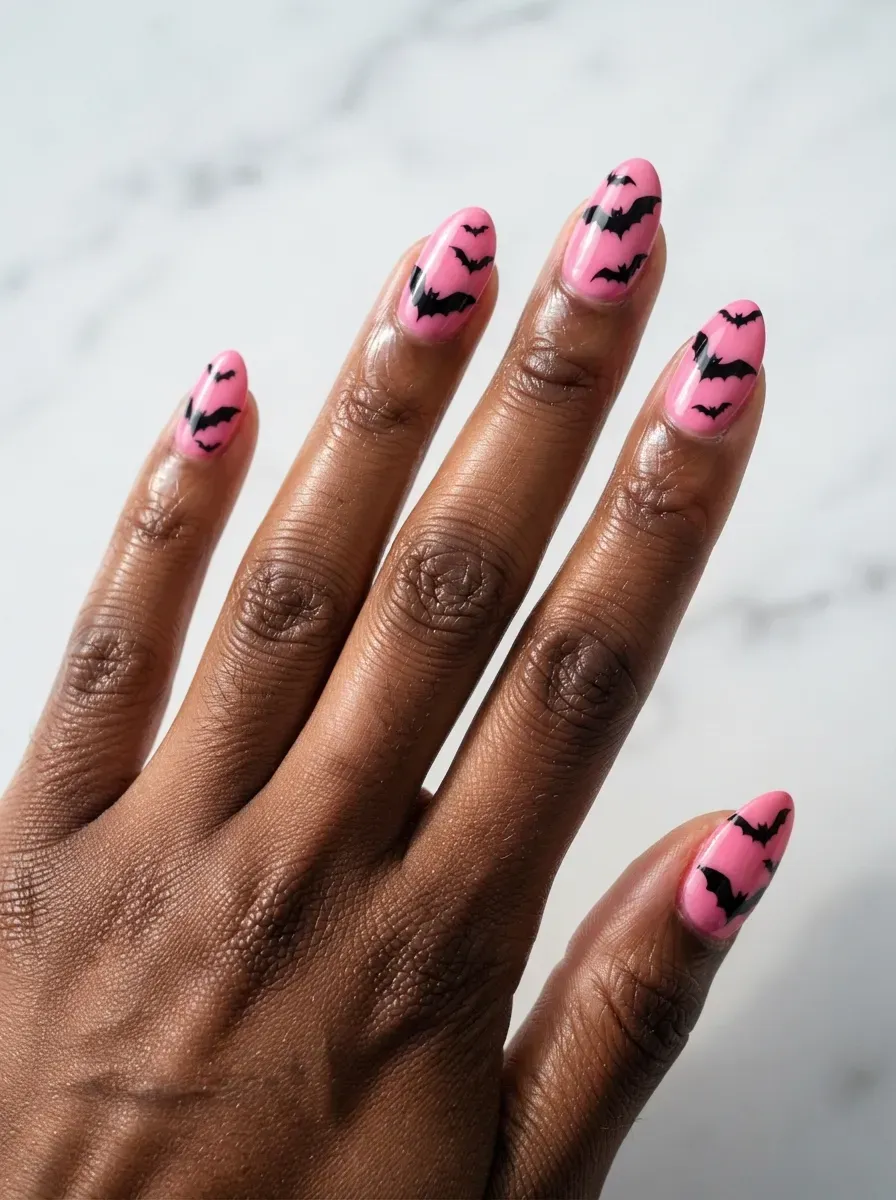
Tiny bat shapes stamped or hand-painted in neon pink pop hard against matte black.
The matte base absorbs light while the neon seems to glow, creating real depth. Keep bats small and off-center so they read as a scattered flock.
Stamping gives cleaner bats than freehand for most people. If hand-painting, use the very tip of a detail brush and commit to each wing in one stroke.
Black Lace Nail Art on Dusty Pink
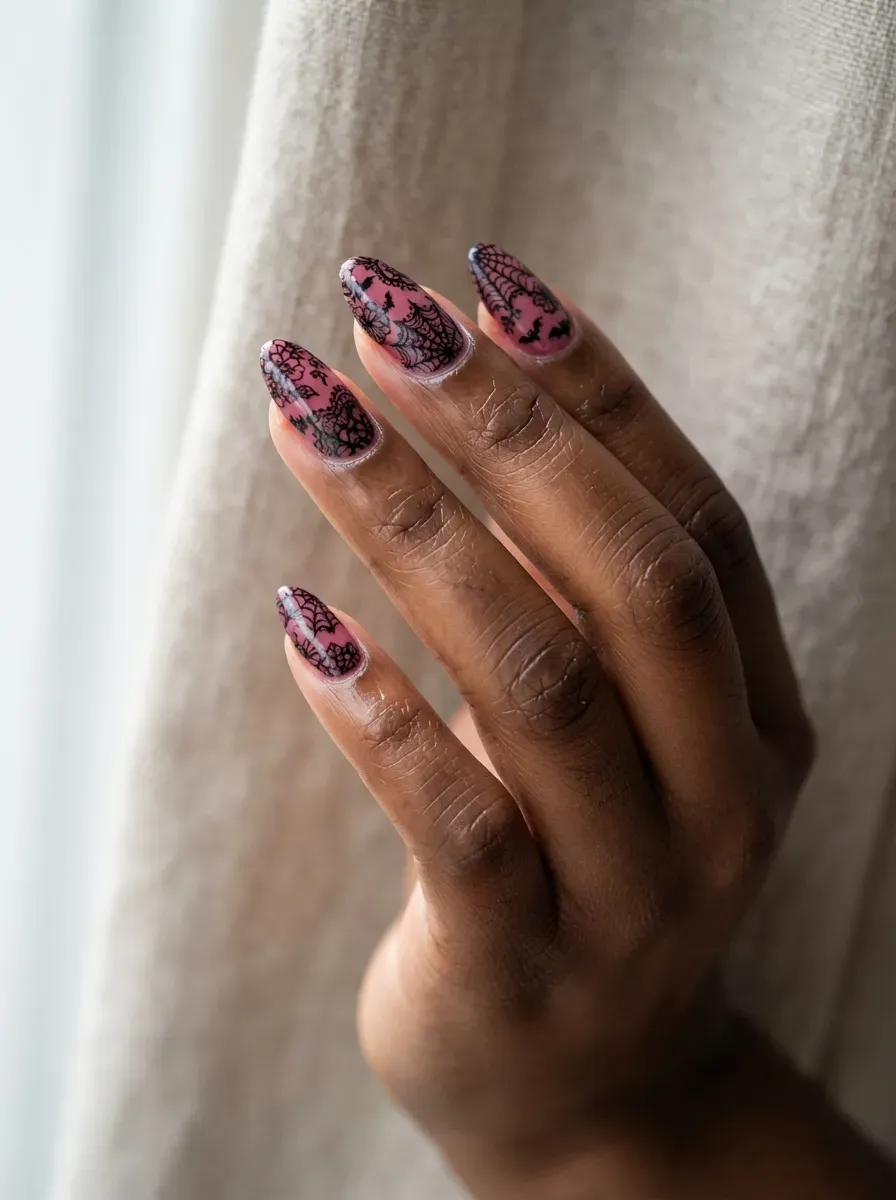
Dusty pink brings a vintage softness that makes black lace detailing feel romantic rather than harsh.
The lace pattern, usually stamped, mimics real fabric with its fine interconnected lines. This is the most wedding-guest-friendly design in the collection.
Dusty pink shows less tip wear than brighter pinks. Apply the lace stamp with firm, even pressure and roll slightly to avoid smudging the edges.
Pink Aura Nails with Black Tips
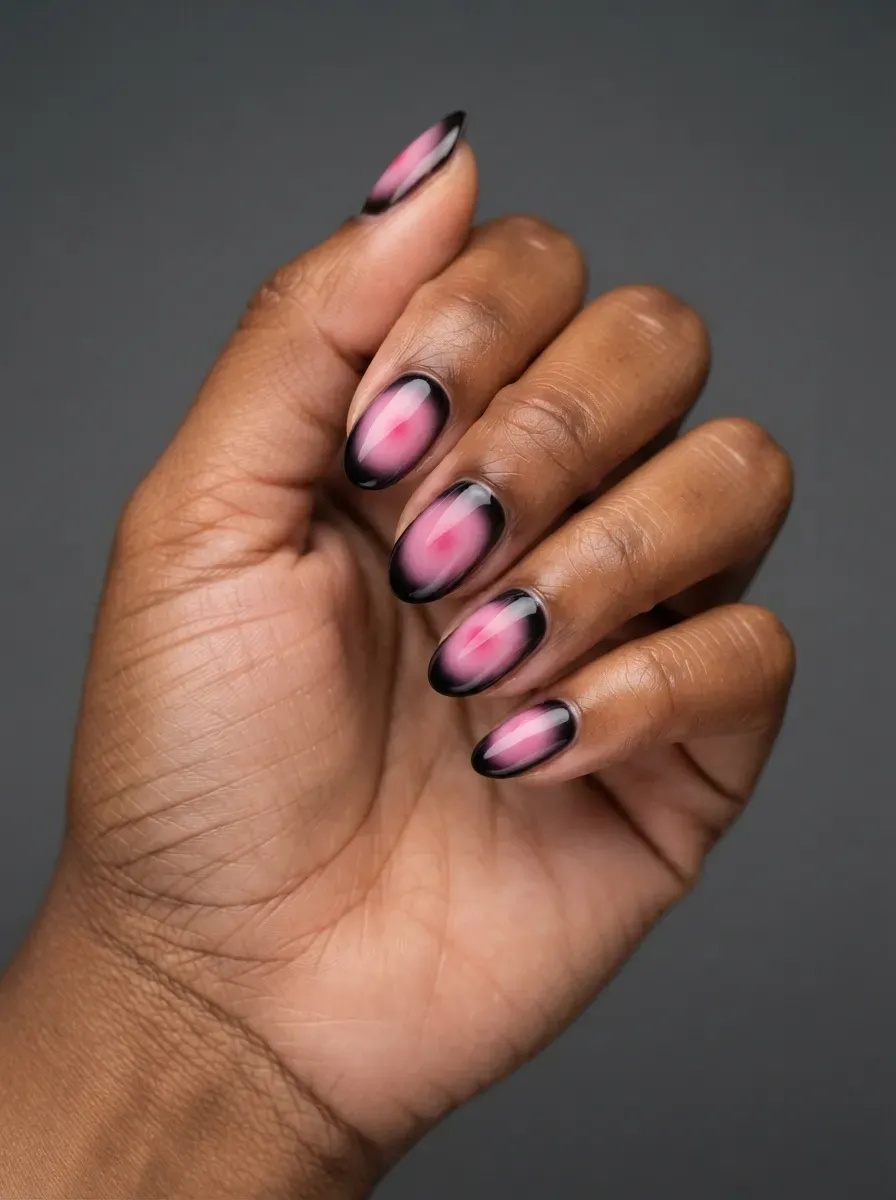
Aura nails use an airbrushed pink bloom at the center that fades softly outward. Adding a thin black tip grounds the dreaminess with an edge.
The technique flatters shorter nails because the centered color creates an illusion of length.
Ask for the aura to be built in sheer layers rather than one heavy pass. Layered application prevents the dreaded harsh ring around the color.
Read more 37 Fall French Tip Nails for Autumn Style
Black Coffin Nails with Pink Rhinestone Cuticles
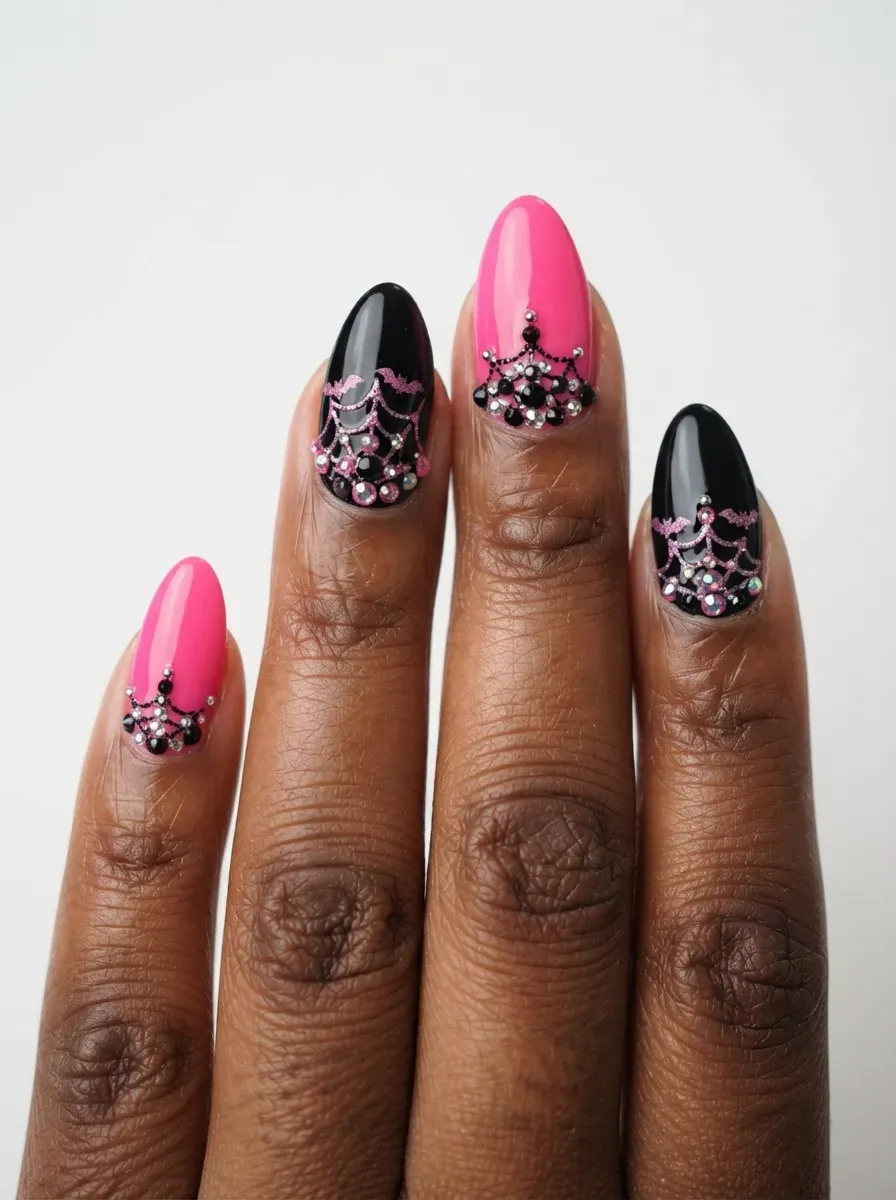
Jet black coffins become jewelry with a curved line of pink rhinestones hugging each cuticle.
The stones catch light with every gesture, which makes this a strong choice for evening events. Keep the rest of the nail clean so the crystals stay the focus.
Have your tech set each stone in a dot of builder gel, not just top coat. Stones set in gel survive handwashing; stones in top coat do not.
Ghost Faces in Pink on Black Square Nails
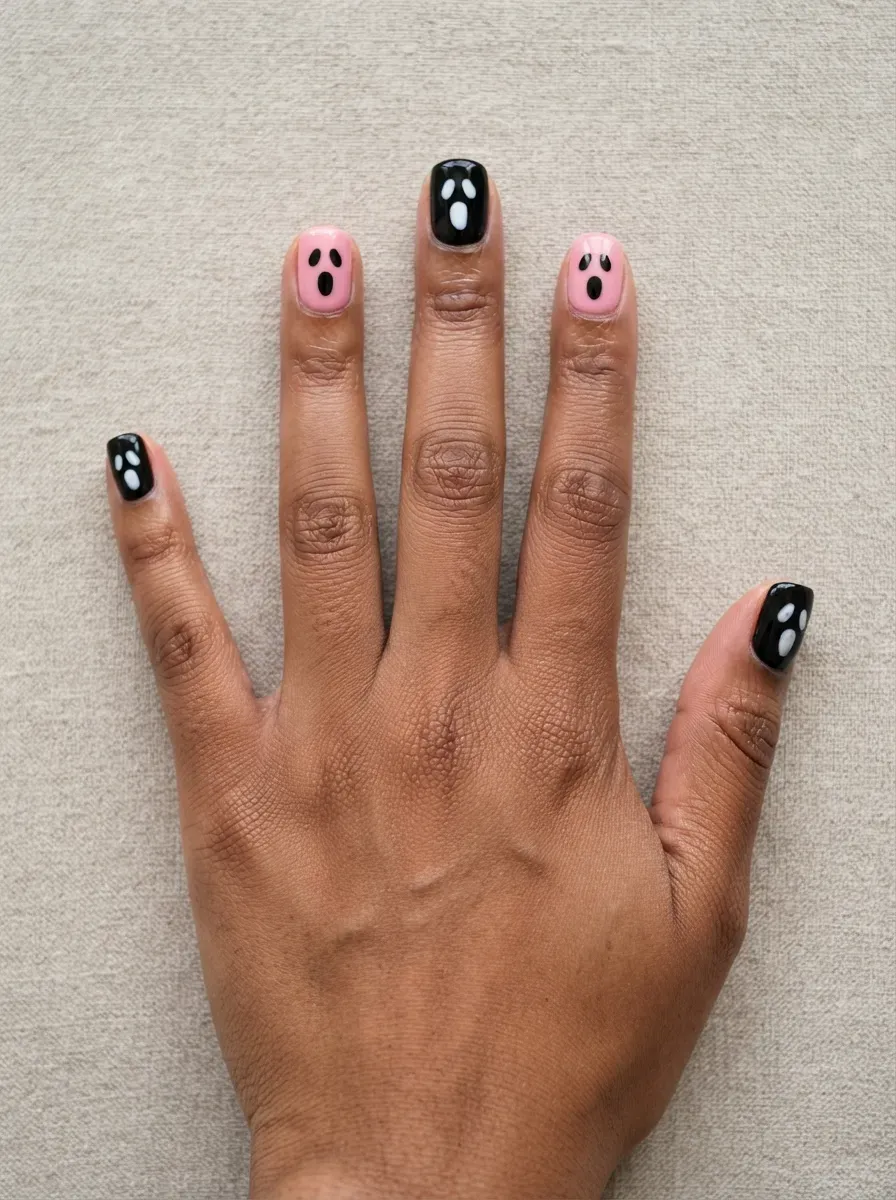
Simple pink ghost shapes with tiny black eyes float across a black base. The trick is keeping the ghosts blobby and imperfect, since precision kills the charm.
Short square nails give each ghost enough room without the design feeling cramped.
Paint ghosts with a dotting tool rather than a brush. Two dots for the body plus a drag downward creates the classic sheet ghost shape.
Black Marble Nails with Pink Veining
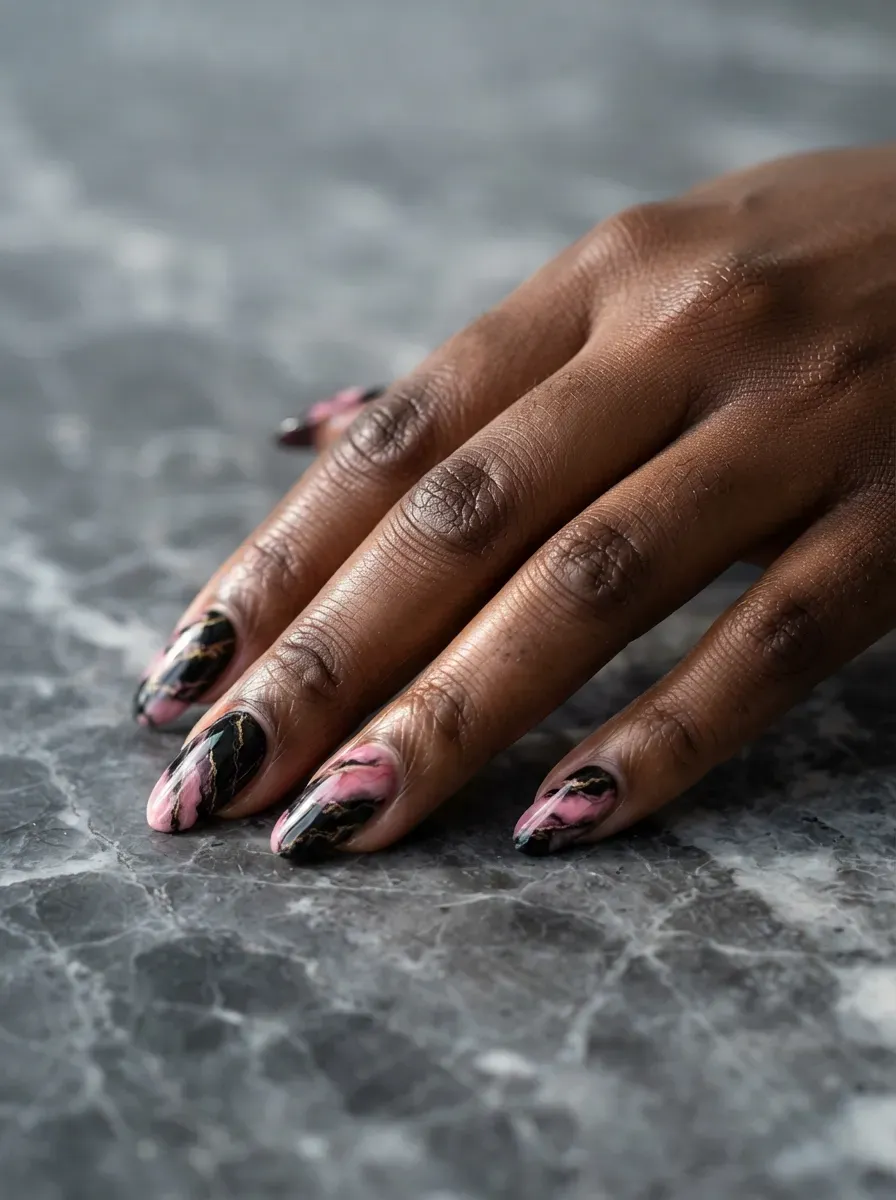
Black marble gets its depth from layered gray and white veining, with thin pink veins threaded through for the Halloween twist.
The water-marbling or drag technique means no two nails match, which is the whole appeal. Longer lengths show off the stone effect best.
Work quickly while the polish is wet if doing this at home. Marble designs wait for no one, and tacky polish drags instead of flowing.
Pink Jelly Nails with Black Encapsulated Glitter
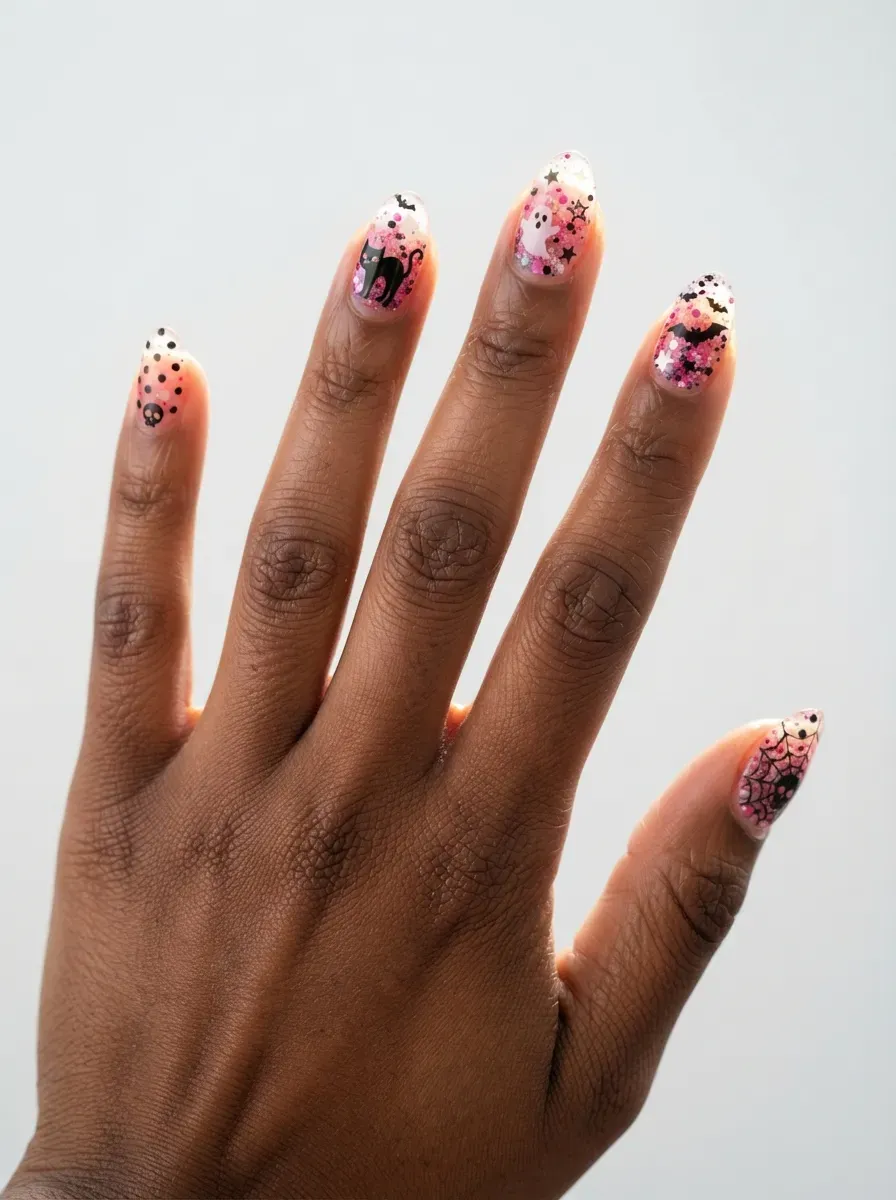
Translucent pink jelly polish layered over black glitter creates a trapped-under-glass effect with real dimension.
Light passes through the pink and bounces off the glitter underneath. The look needs some length to show off the depth, so medium to long works best.
Build jelly in three thin coats rather than two thick ones. Thick jelly coats trap bubbles that no top coat can hide.
Black Stiletto Nails with Pink Flame Tips
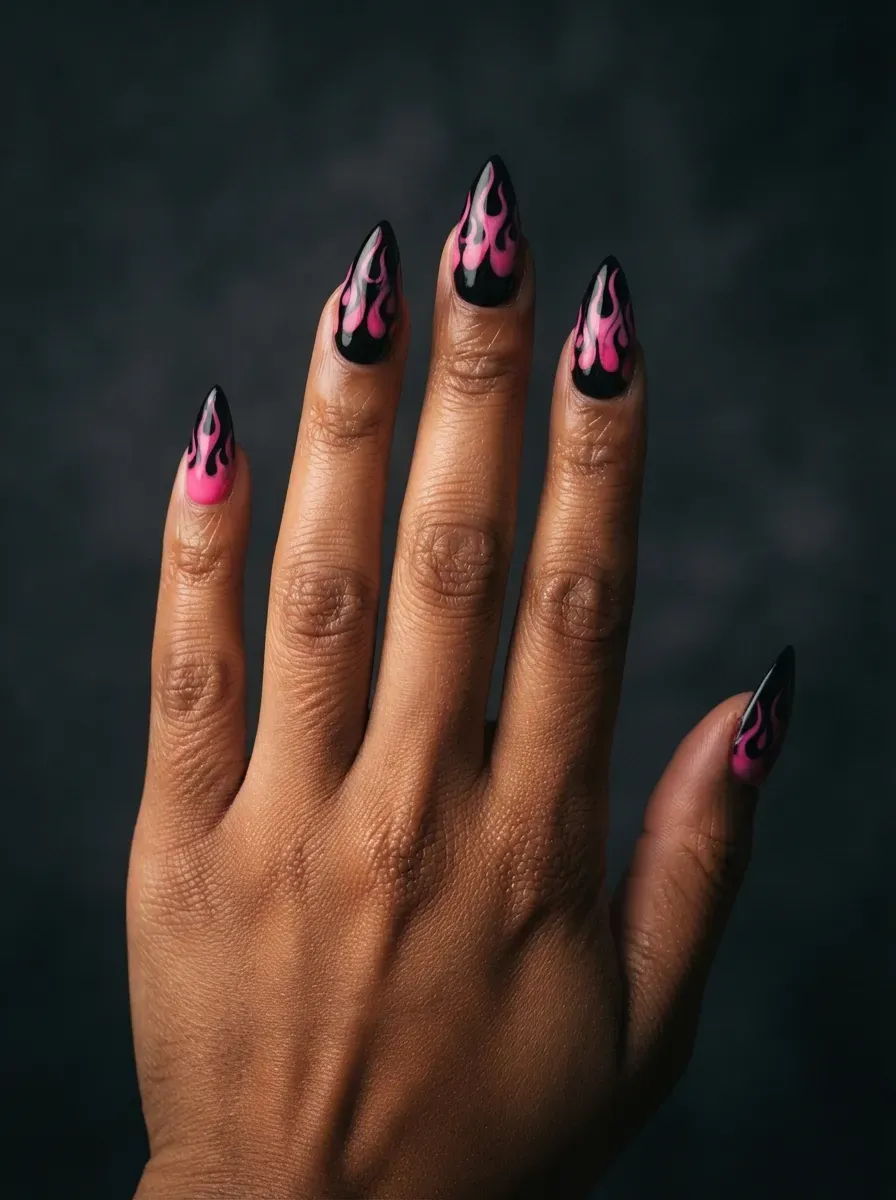
Pink flames licking up from black stiletto tips make your nails the hottest thing at any Halloween party.
The flame shape follows the stiletto point naturally, which makes the design easier than it looks. Hot pink with an orange-pink gradient inside each flame adds realism.
Sketch flames with a thin liner brush using the side of the tip, not the point. That side gives the curved flick the point cannot.
Check out Coraline Nails Aesthetic Ideas for a Whimsical, Gothic-Chic Manicure
Pink and Black Checkerboard Nail Art
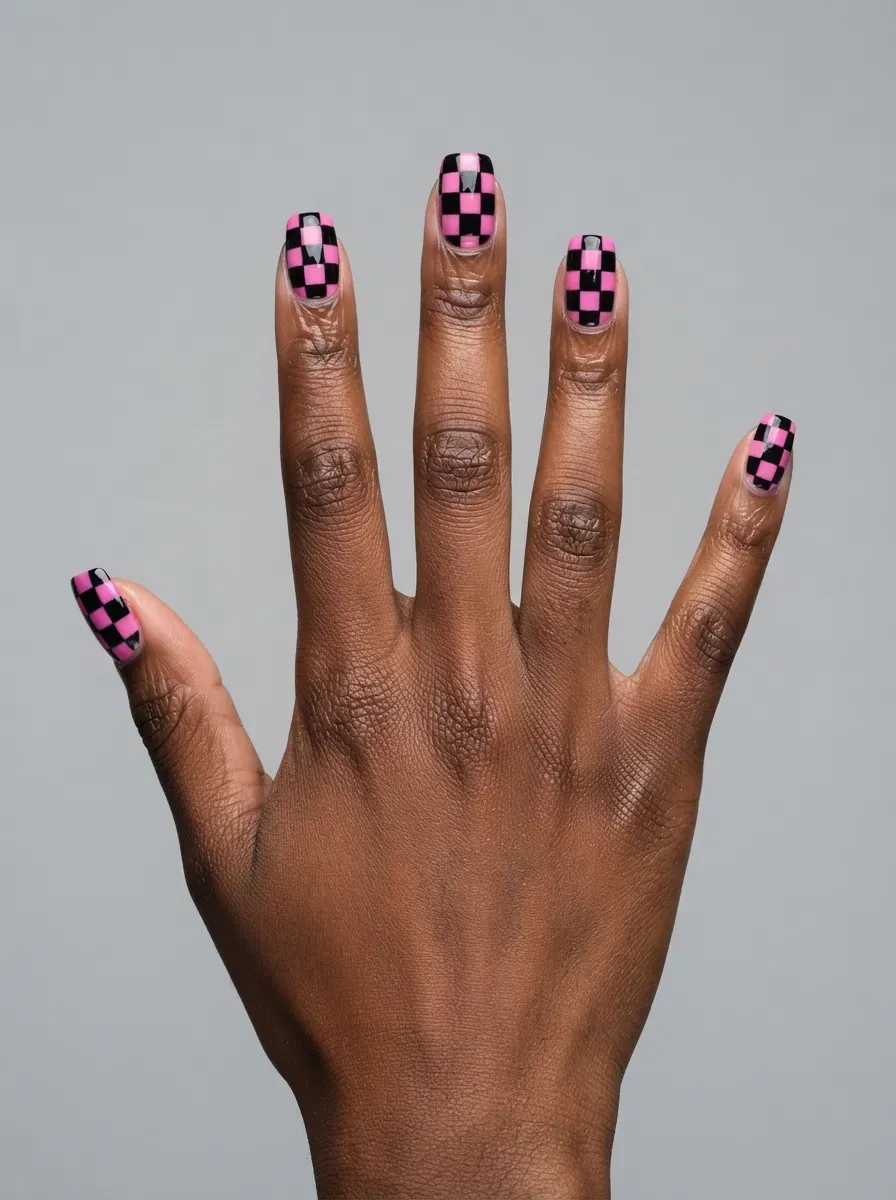
Alternating pink and black squares create a ska-meets-spooky pattern with real visual punch.
The design demands straight lines, so striping tape or a steady hand is non-negotiable. Medium square or squoval shapes give the cleanest grid.
Let each color dry fully before taping over it. Rushing the tape step is how crisp checkers become muddy ones.
Black Velvet Nails with Pink Magnetic Shimmer
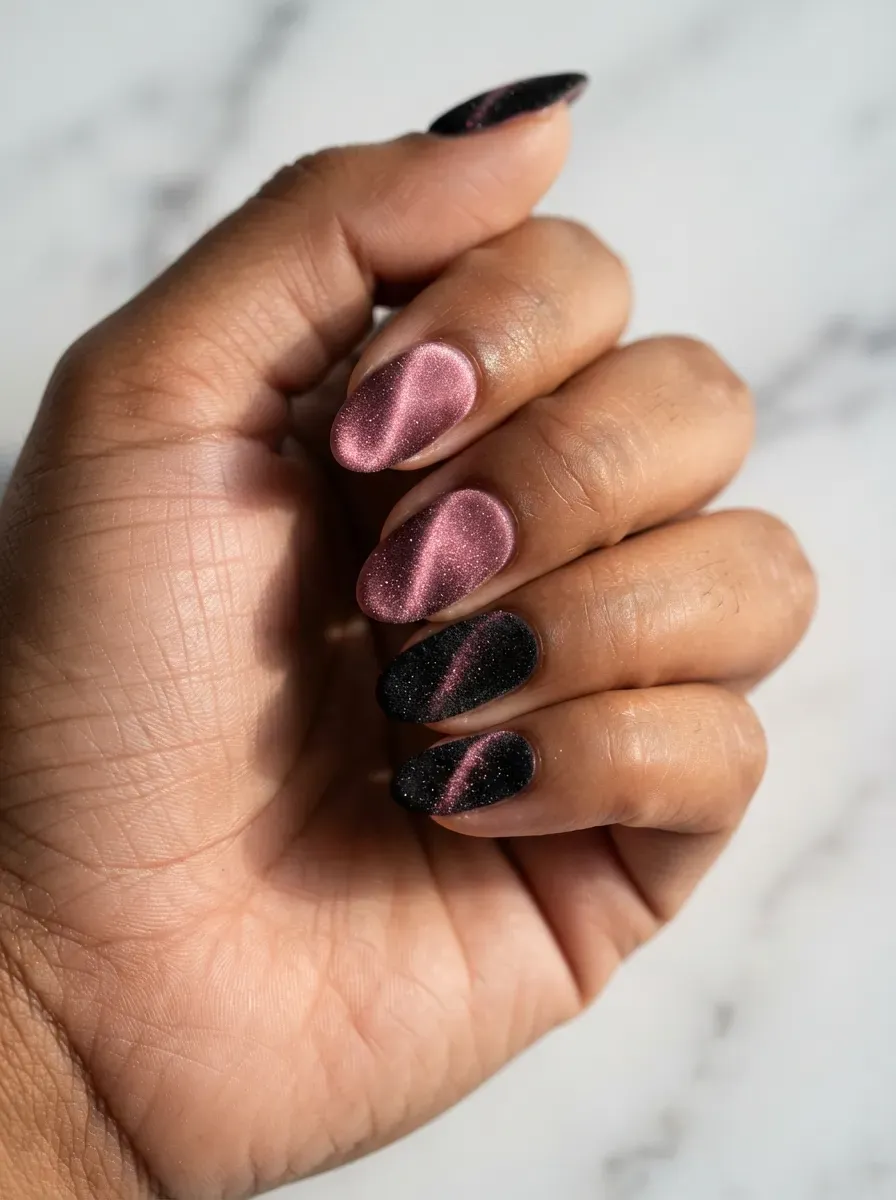
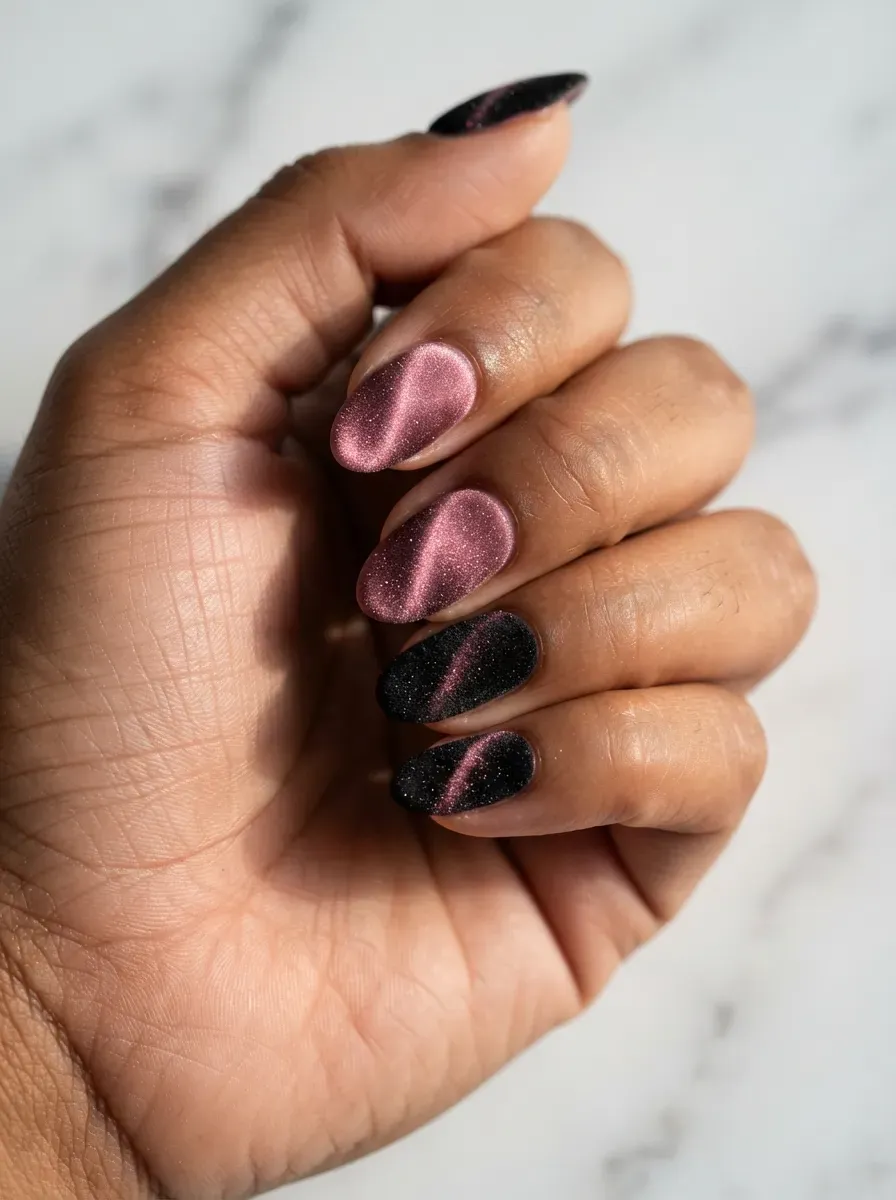
Velvet magnetic polish contains fine particles that stand up under a magnet, creating a fabric-like texture. In black with pink shimmer, the effect reads like crushed velvet at midnight.
The texture hides minor imperfections, which makes this forgiving for at-home application.
Use the velvet magnet, not a standard cat eye magnet. The velvet pattern needs the specific magnet shape to create the fabric grain.
Candy Pink Coffin Nails with Black Dagger Accents
Candy pink keeps the base sweet while sharp black dagger shapes add menace along the sides or tips.
The contrast between the innocent pink and aggressive black geometry is what makes this design memorable. Long coffins give the daggers room to extend dramatically.
Place daggers asymmetrically rather than mirroring each nail. Asymmetry looks intentional and edgy; perfect symmetry can read as a logo.
Black French Tips on Sheer Pink Almond Nails
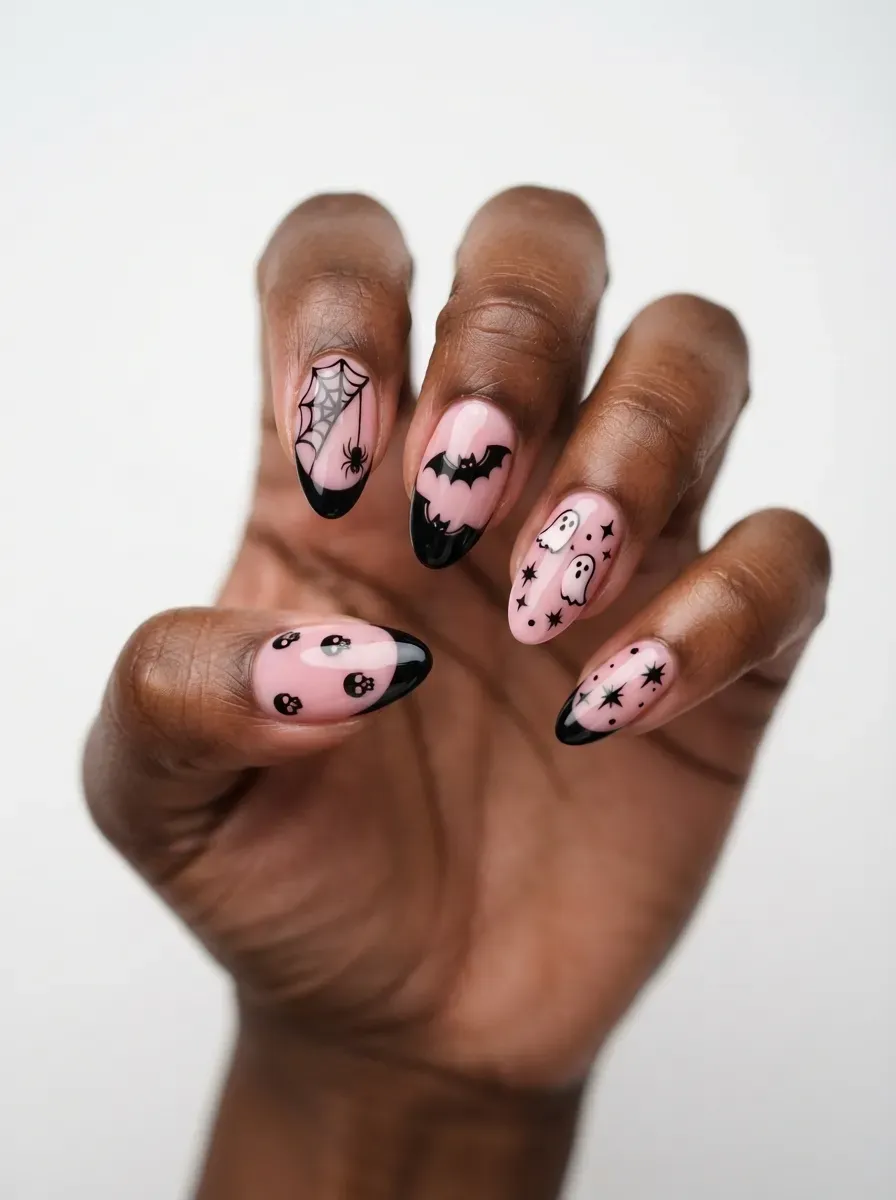
Swapping white tips for black transforms the French manicure from bridal to Halloween-ready in one move.
The sheer pink base keeps it elegant and office-appropriate. Almond shape elongates the fingers and gives the black tip a graceful curve to follow.
Black tips show chips faster than white, so seal the free edge carefully. This design also grows out invisibly, stretching time between appointments.
Read also The French Manicure Reboot Every Fall Nail Lover Needs
Pink Pumpkin Faces on Matte Black Nails
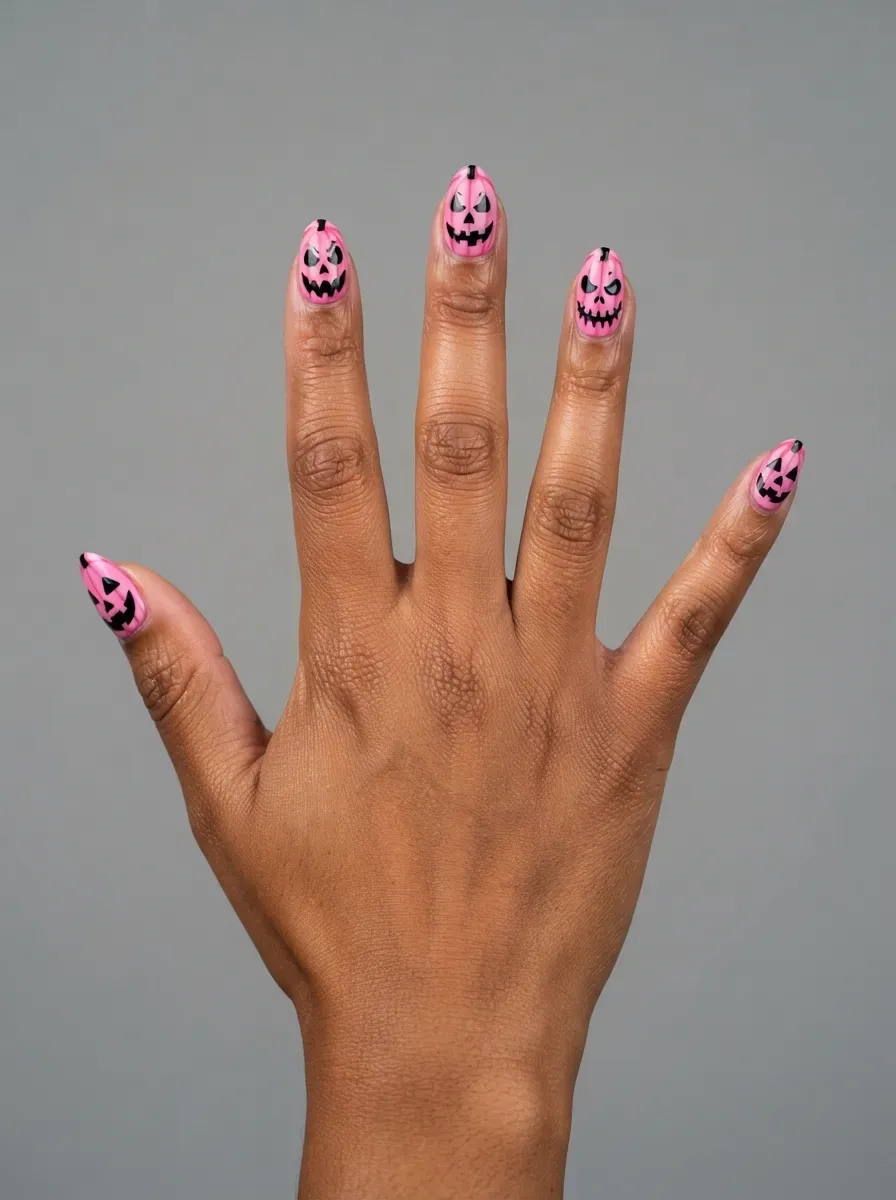
Jack-o-lantern faces get an unexpected makeover in bubblegum pink against matte black. The matte base makes the glossy pink faces look like they glow.
Keep the faces simple, triangle eyes and a jagged grin, since tiny details get lost at nail scale.
Paint the pumpkin faces with the polish brush, not a detail brush. The brush gives you the rounded pumpkin body in one stroke.
Black and Pink Swirl Nail Art
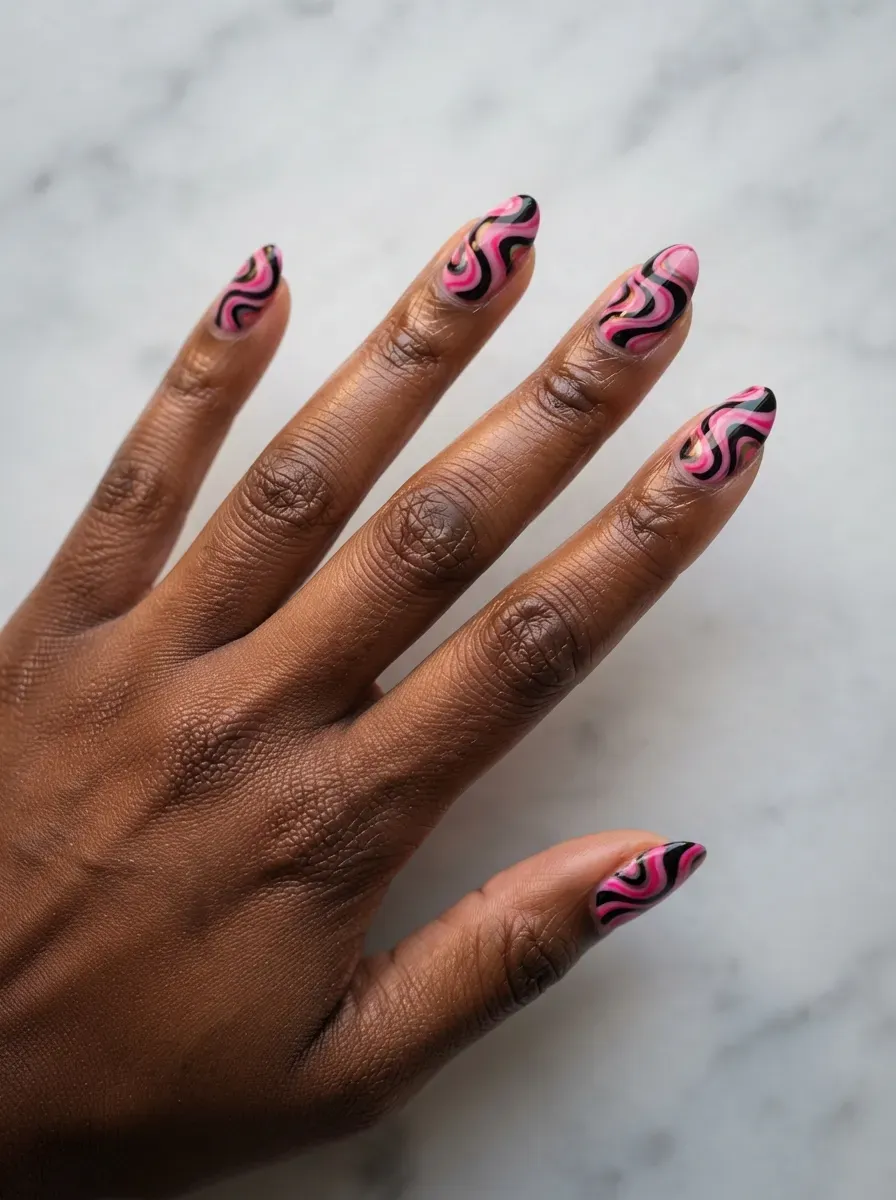
Thick swirls of black and pink melt together like a lava lamp frozen mid-flow. The design works best with a dotting tool dragged through wet polish, creating organic curves no sticker could match.
Every nail comes out different, which suits the free-spirited Halloween mood.
Work one nail at a time and cap it immediately. Swirl designs start to muddy the moment the polish begins setting.
Pink Glass Nails with Black Chrome Edges
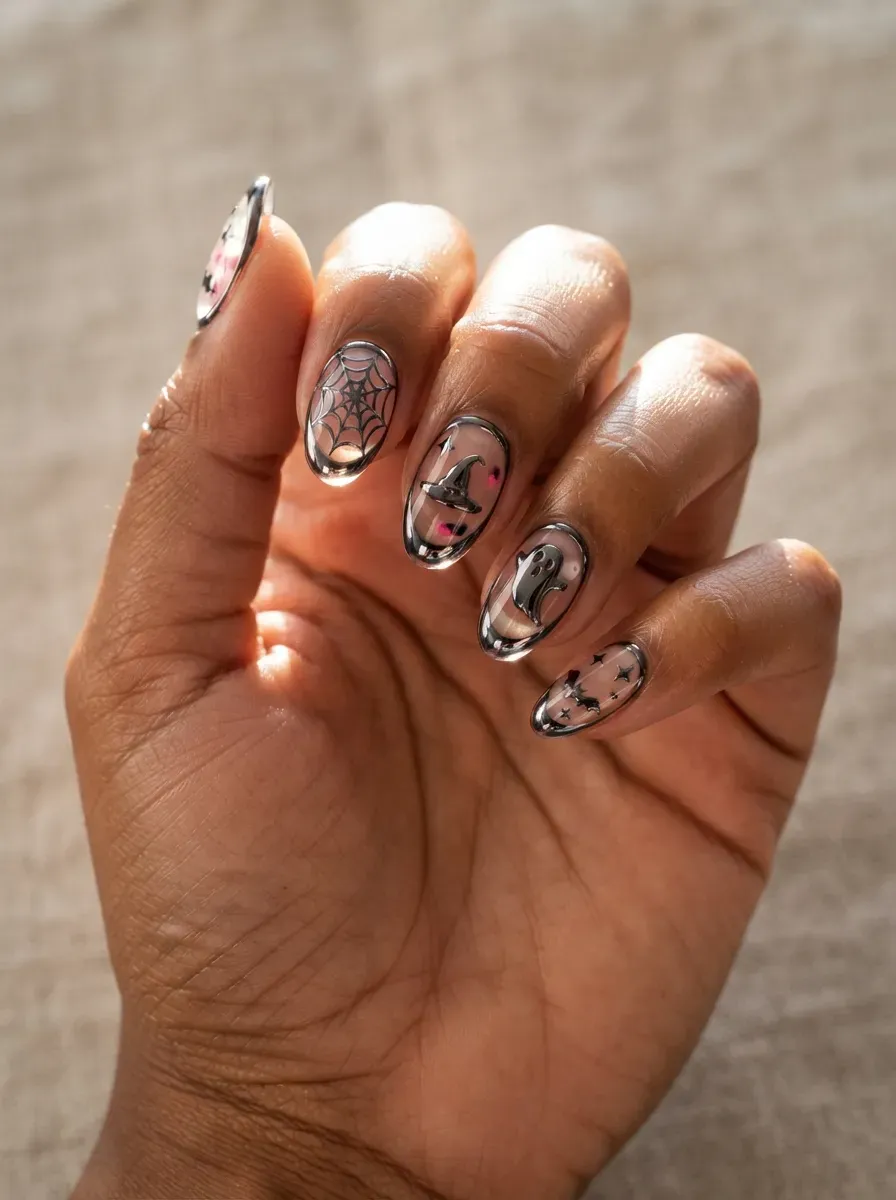
Translucent pink builds a glass-like nail with real depth, then black chrome powder pressed only along the edges creates a dark outline.
The effect resembles stained glass with leading. Longer lengths showcase the transparency best, since short nails cannot hold enough depth.
Apply the chrome with a silicone tool, not your finger. Fingers deposit oils that dull the mirror finish before it sets.
Black Coffin Nails with Pink Glitter Ombre
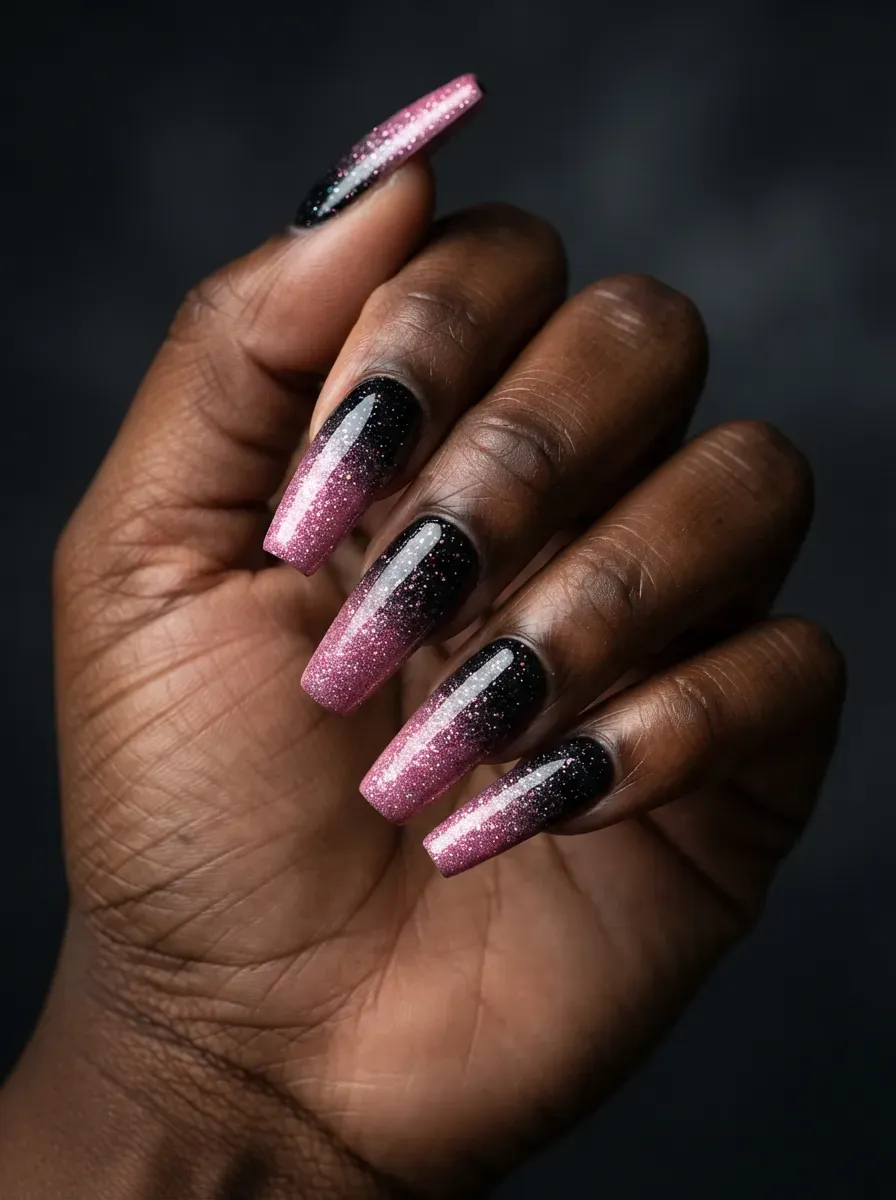
Fine pink glitter sponged over a black base creates a fade that sparkles more toward the tip.
The gradient hides the transition line that solid glitter would show. Coffin shape gives the ombre enough real estate to blend smoothly.
Dab glitter with a makeup sponge in thin layers. Thick glitter application creates a bumpy texture that top coat cannot fully smooth.
Check out Healthy Dating Timeline for Adults: What Real Love Looks Like (Without Rushing It)
Pink Skeleton Hand Nail Art on Black
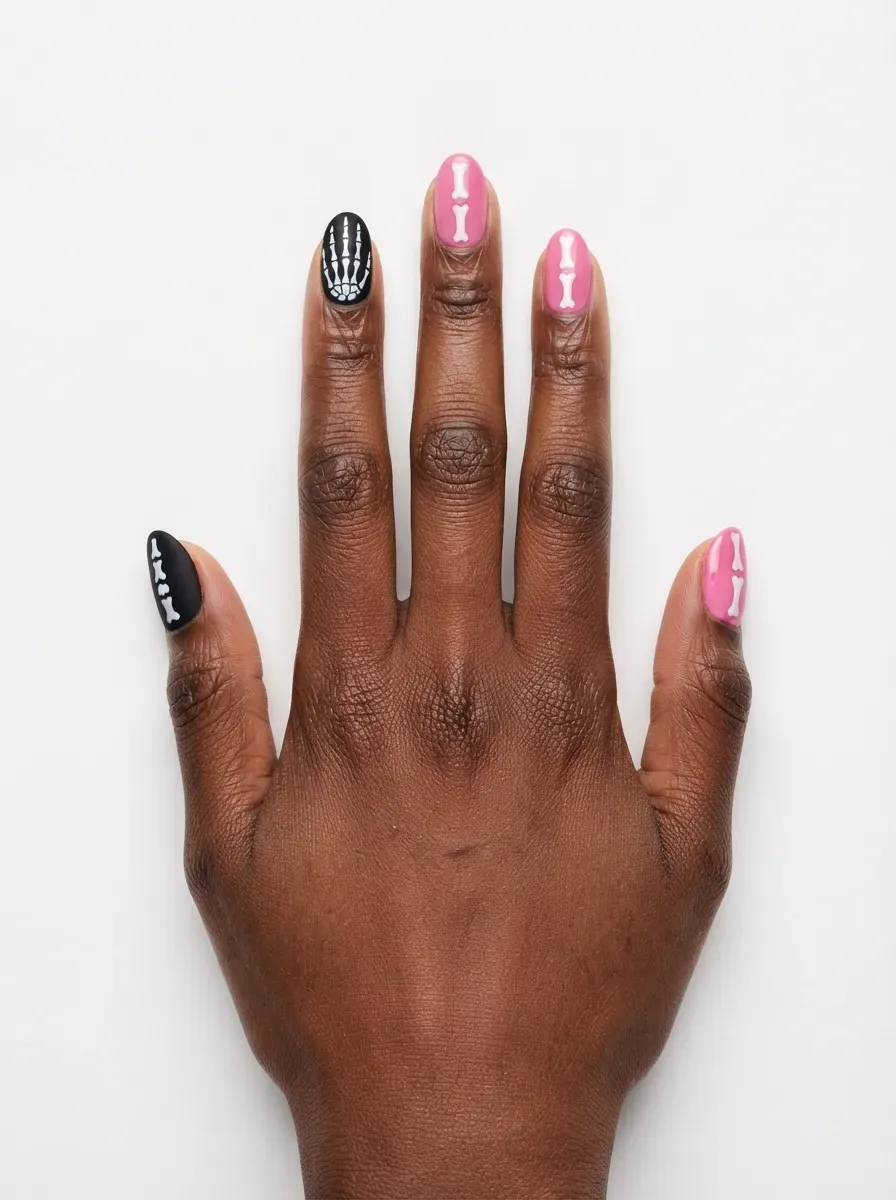
Tiny skeleton hand bones painted in pale pink across black nails deliver maximum Halloween with a softened edge.
The pink keeps the bones from reading too grim. This is detail-heavy work, so it belongs in the salon rather than the DIY column.
Bring a reference photo to your appointment. Skeleton hands have specific bone counts, and a good tech will appreciate the visual guide.
Black Glitter Fade into Hot Pink Tips
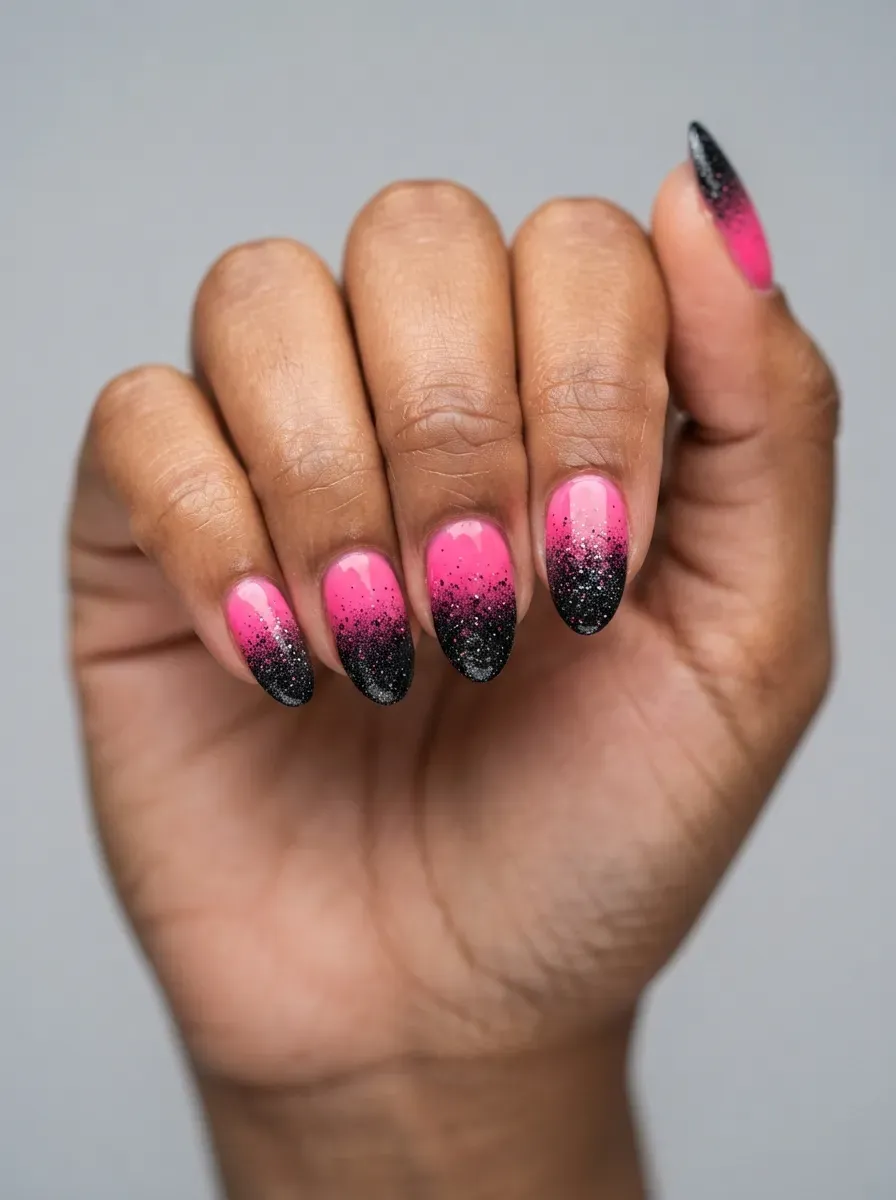
Black glitter concentrated at the cuticle dissolves into solid hot pink at the tips for a reverse fade with serious dimension.
The glitter adds texture that flat color cannot match. This design photographs beautifully because the sparkle catches flash.
Use a fine glitter rather than chunky pieces for the fade. Chunky glitter creates a harsh line where the fade should be seamless.
Pink and Black Negative Space Cuticle Nails
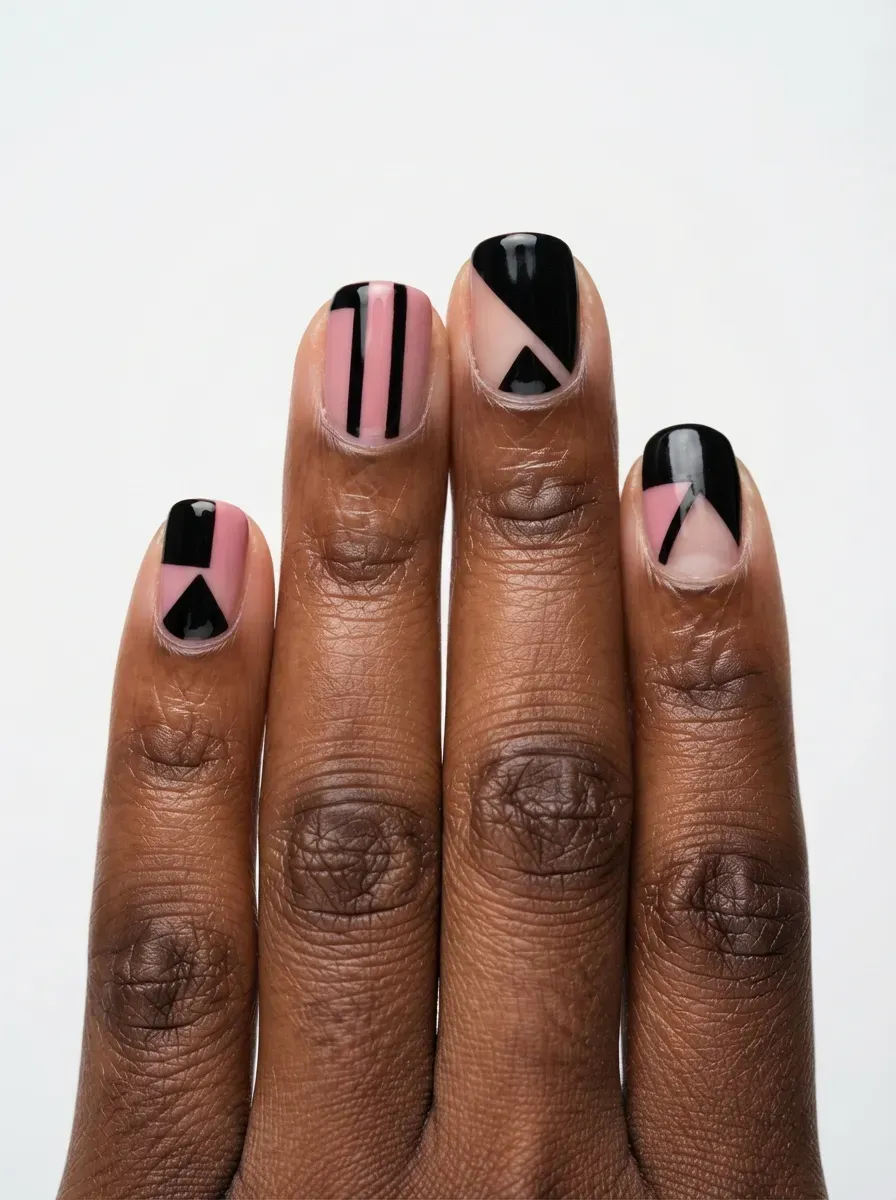
Bare nail at the cuticle creates breathing room between geometric blocks of pink and black.
The negative space makes the design feel modern and architectural. Regrowth becomes nearly invisible, which extends wear time significantly.
Keep the bare area truly bare with just base coat. Any pink tint in the negative space ruins the crisp architectural effect.
Black Bat Wing Nail Art on Bubblegum Pink
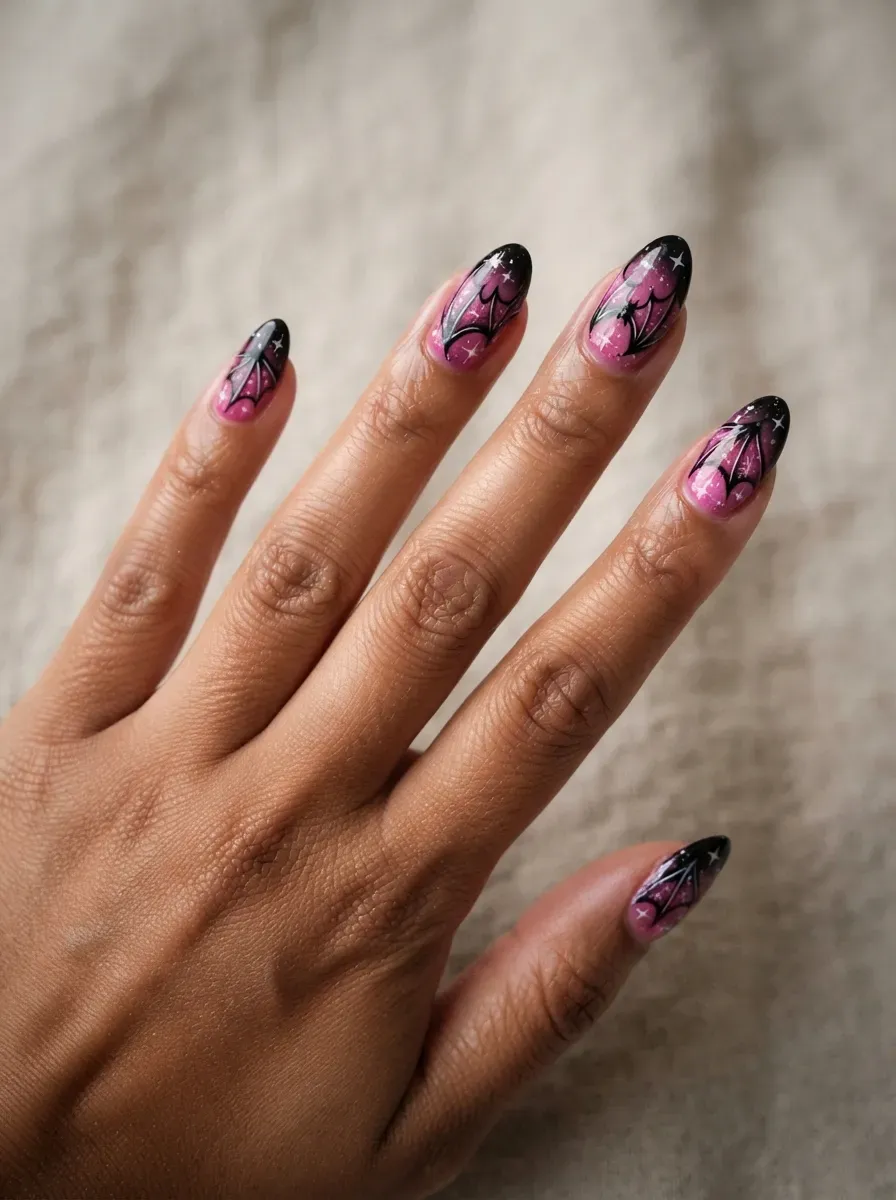
Outstretched bat wings in black span bubblegum pink nails for a design that is more fairy-tale than frightening.
The wing shape follows the nail’s natural curve, using the full surface. Bubblegum pink keeps the mood light enough for daytime wear.
Draw wings starting from the center outward in both directions. Center-out symmetry keeps both wings even without measuring.
Pink Chrome Hearts on Short Black Square Nails
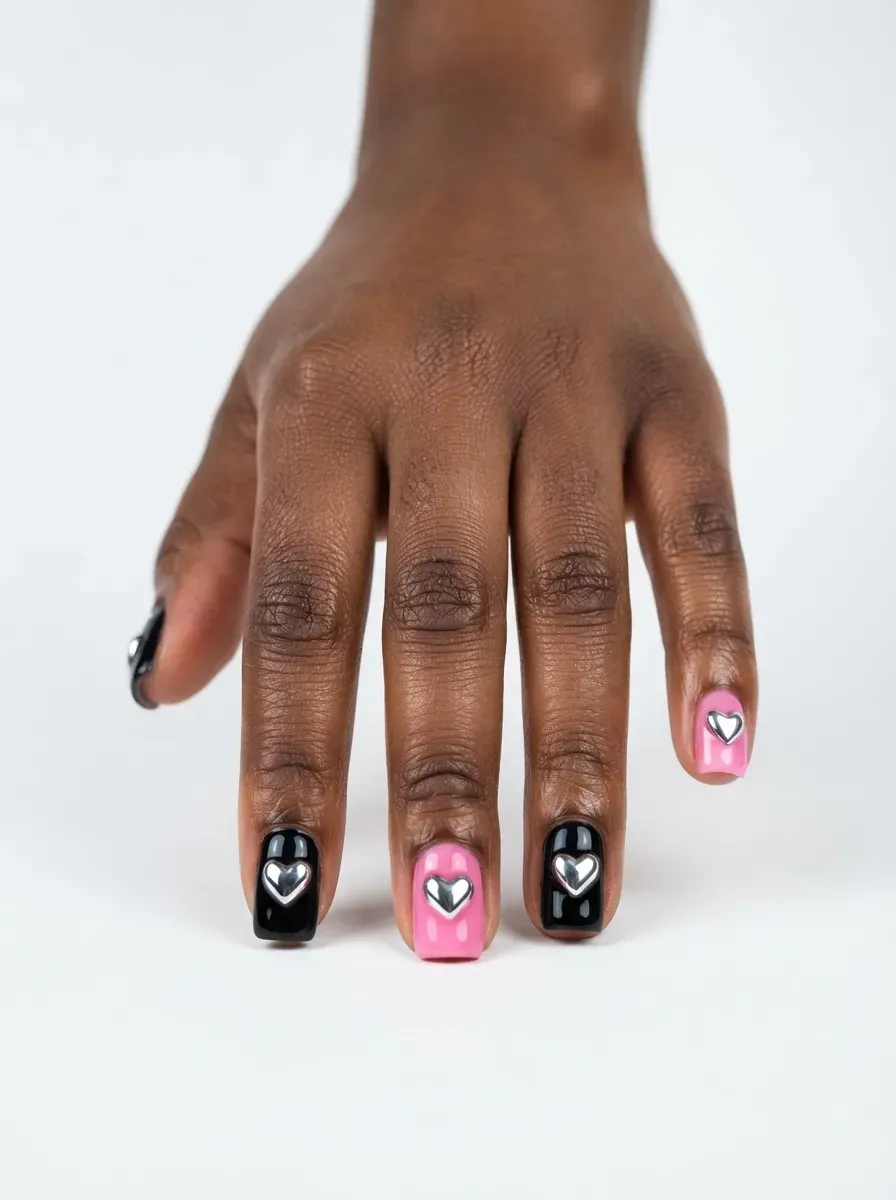
Small chrome hearts in pink sit centered on short black squares for a design that balances tough and tender.
The chrome catches light differently than flat polish, giving each heart a liquid glow. Short length keeps the look practical for everyday wear.
Press chrome powder with a dedicated applicator, not a brush. Brushes scatter the fine powder and dull the mirror effect.
See more Back to School September Gel Nails: 46 Cute Ideas for a Fresh Start
Black and Pink Tortoise Shell Nails
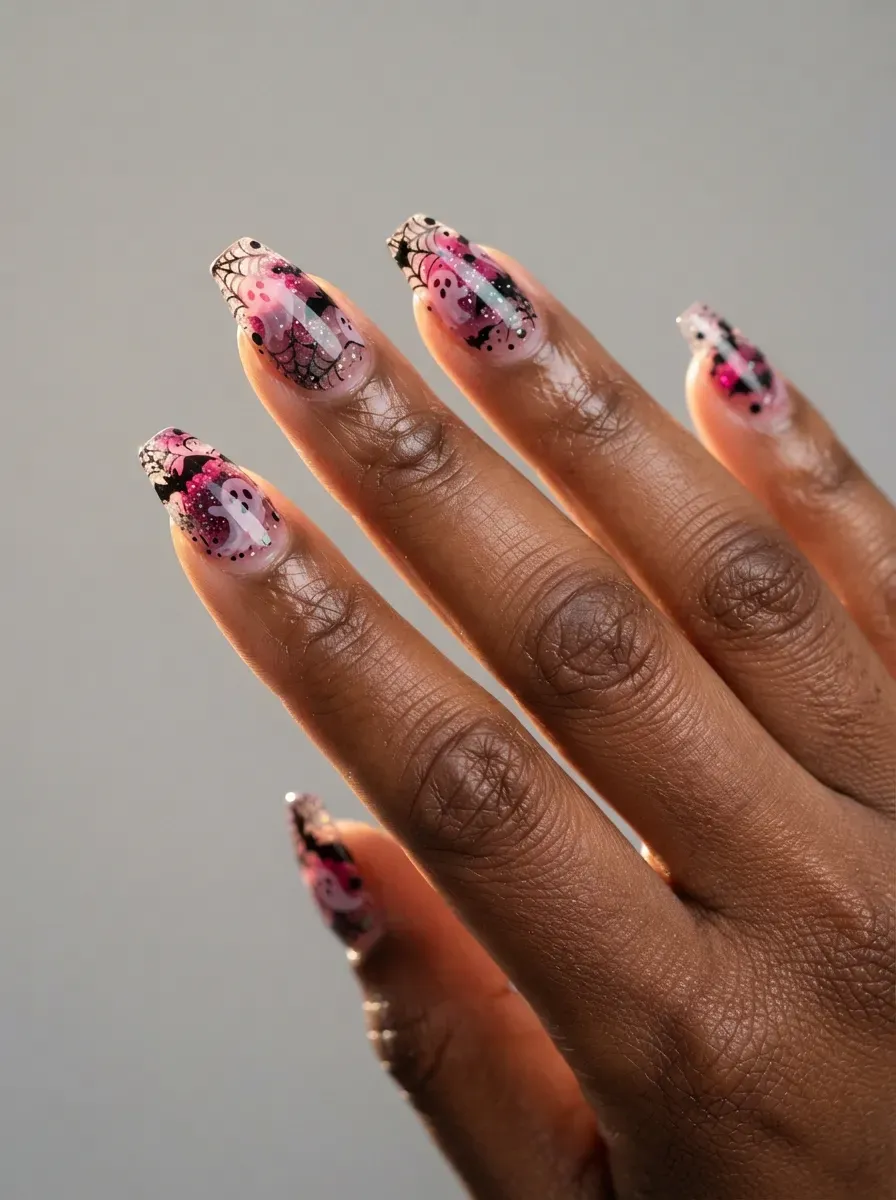
Tortoise shell gets a Halloween remix with pink blended into the classic amber and black pattern. Layering translucent browns, pinks, and blacks creates the signature mottled depth.
The technique suits almond or oval shapes where the pattern can flow uninterrupted.
Build tortoise in thin translucent layers, curing between each. Opaque layers kill the depth that makes tortoise shell recognizable.
Pink Slime Drip Nails on Glossy Black
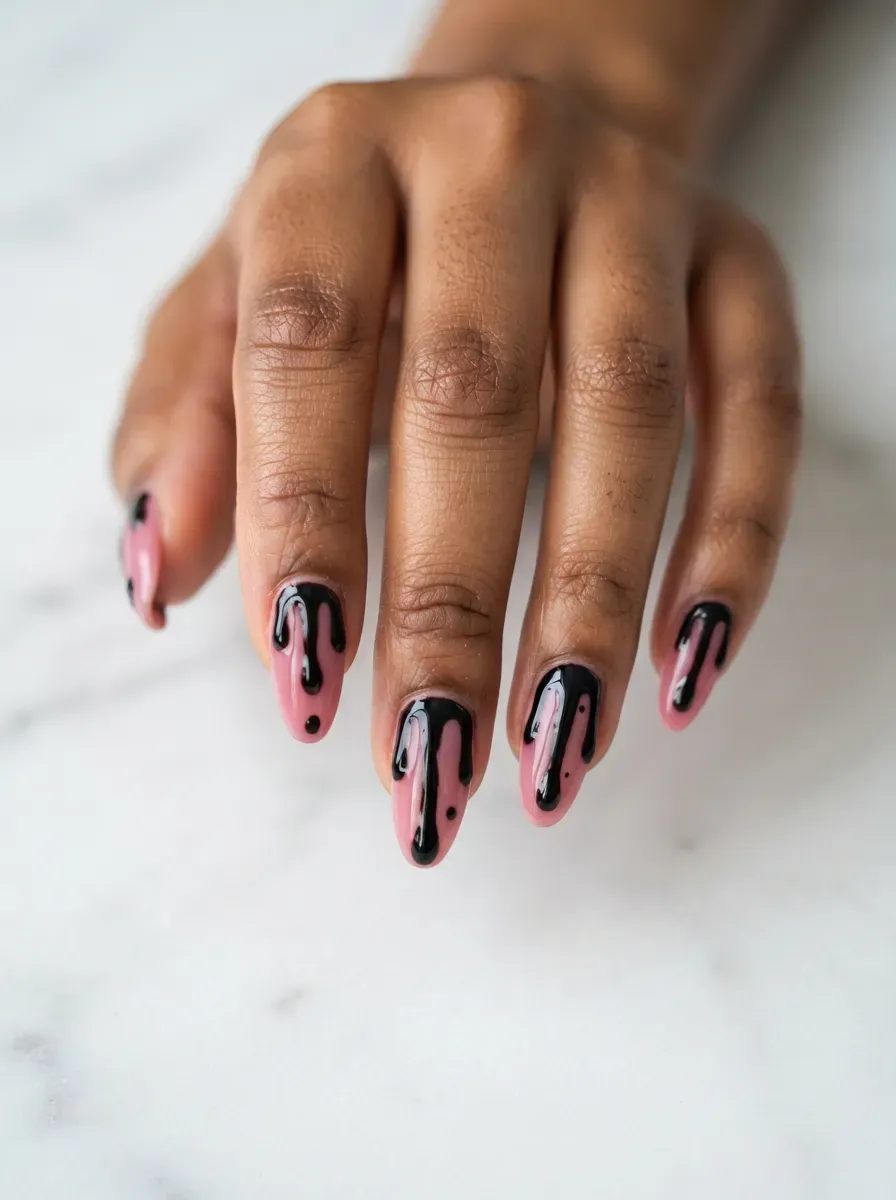
Neon pink slime drips oozing down glossy black nails channel classic horror with a candy twist.
The gloss on both colors makes the slime look freshly spilled. Longer nails give the drips room to travel for maximum effect.
Use a striper brush loaded with extra polish for the drips. A loaded brush creates the rounded drip ends that a dry brush cannot.
Black Almond Nails with Pink Starbursts
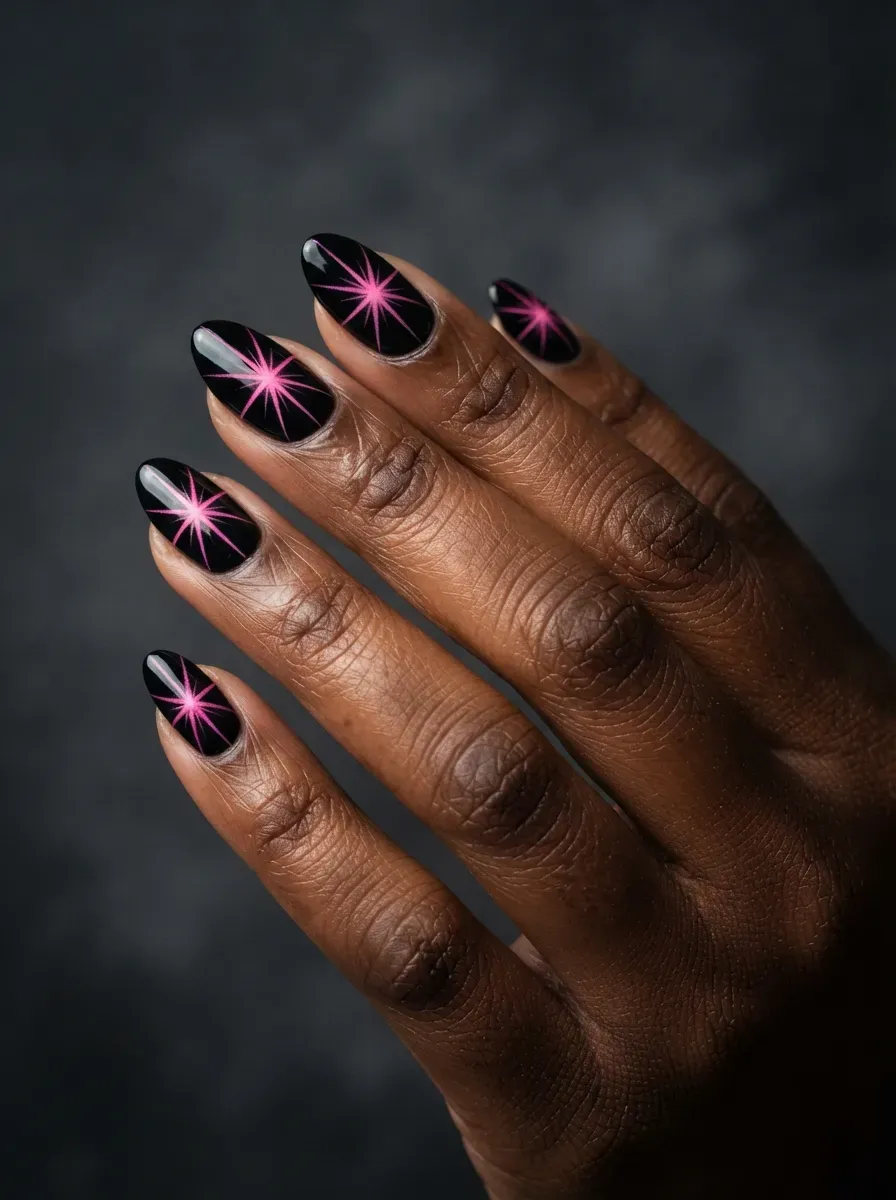
Fine pink lines radiating from a central point create starbursts that read as celestial rather than spooky.
The precision of the linework against matte black gives strong contrast. Almond shape echoes the radiating pattern nicely.
Draw starbursts with a long striper brush in single pulls from center outward. Stopping mid-line creates the wobble that ruins the celestial precision.
Pink and Black Plaid Nail Art
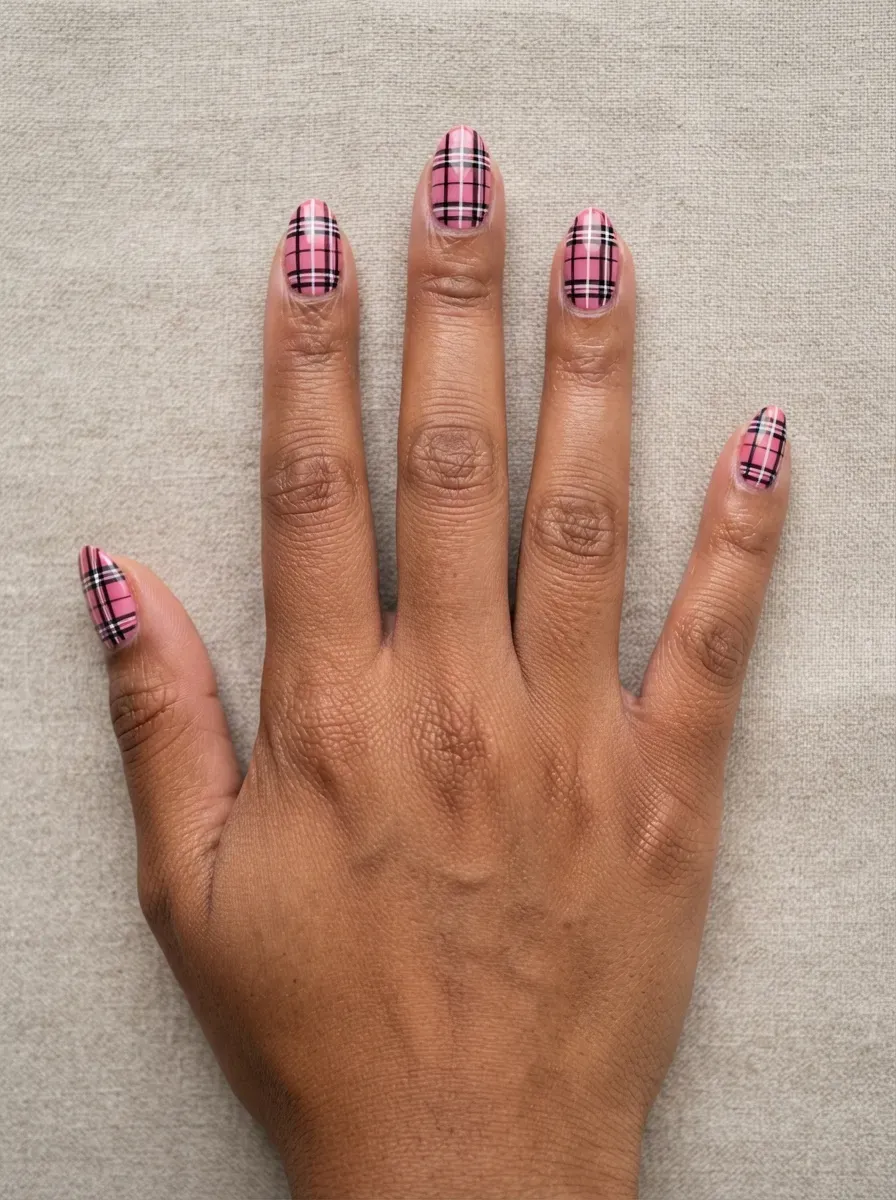
Plaid in pink and black brings a clueless-meets-Halloween energy that works surprisingly well. Thin crossing lines in varying widths mimic real fabric weave.
The pattern demands patience but rewards with a design that reads expensive.
Lay down the pink base and let it cure fully before striping. Black over tacky pink bleeds at every intersection.
Black Coffin Nails with Pink 3D Bows
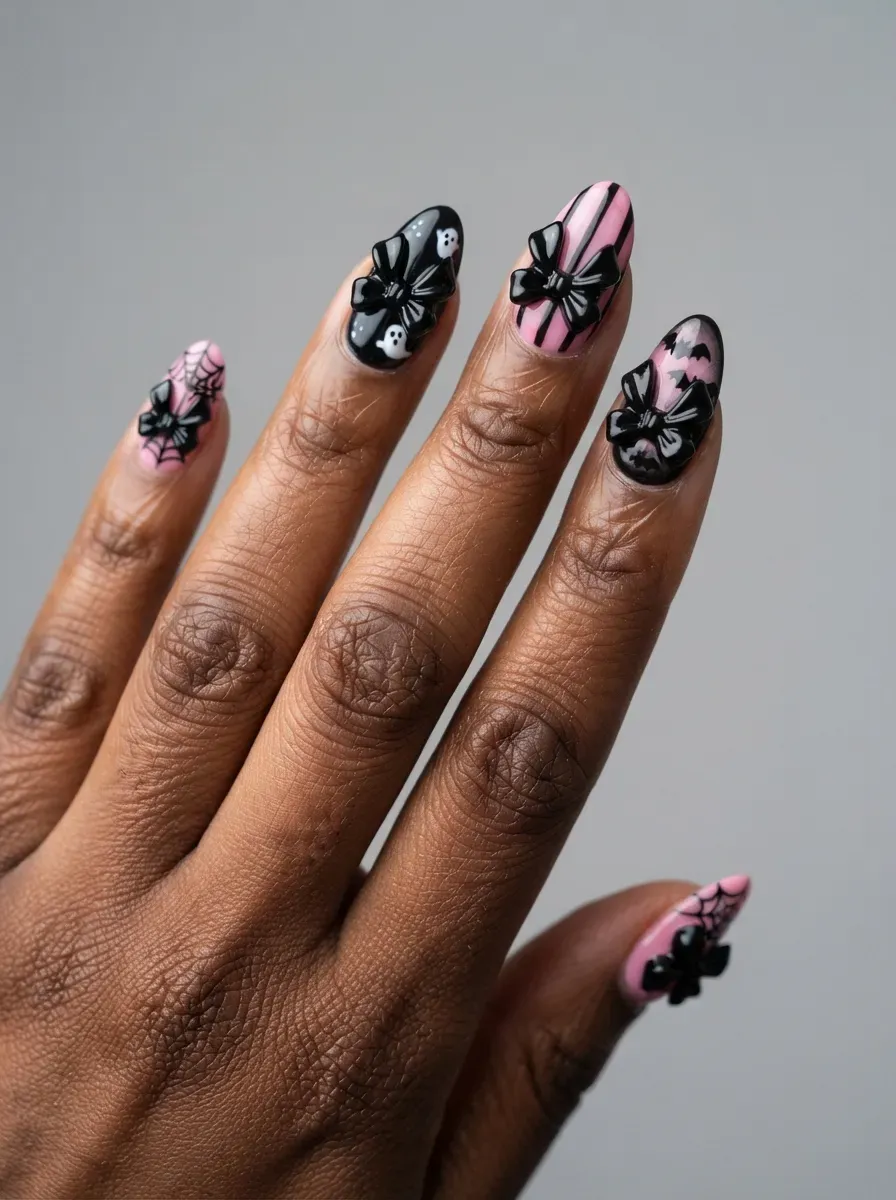
Tiny sculpted bows in pink sit like jewelry on matte black coffins for peak coquette-goth.
The 3D elements add real texture that flat art cannot match. Reserve bows for one or two accent nails, since a full set becomes unwieldy.
Anchor 3D charms with a bead of builder gel at the base. Charms attached with only top coat pop off within days.
Pink Moon Phases on Matte Black Nails
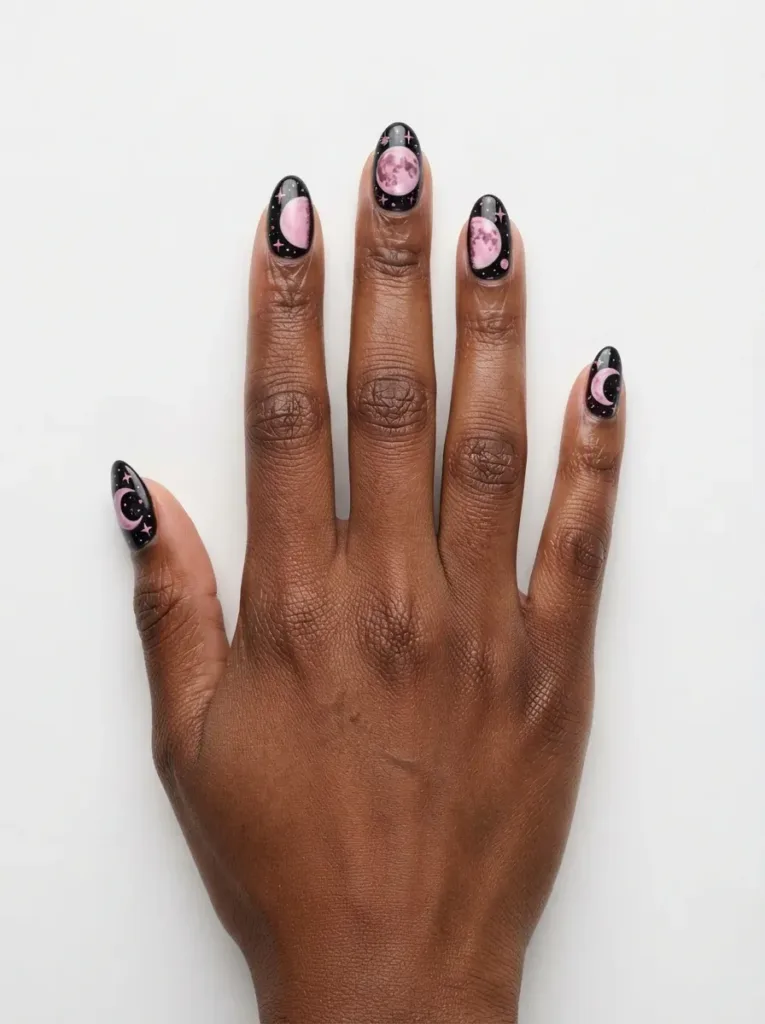
The lunar cycle unfolds across five nails in soft pink against matte black. Each nail shows a different phase, creating a set that tells a story. The design suits medium lengths where each moon has room to breathe.
Plan the phase order before painting, thumb to pinky. A scrambled moon cycle bothers everyone who notices, and someone always notices.
Black and Pink Lightning Bolt Nail Art
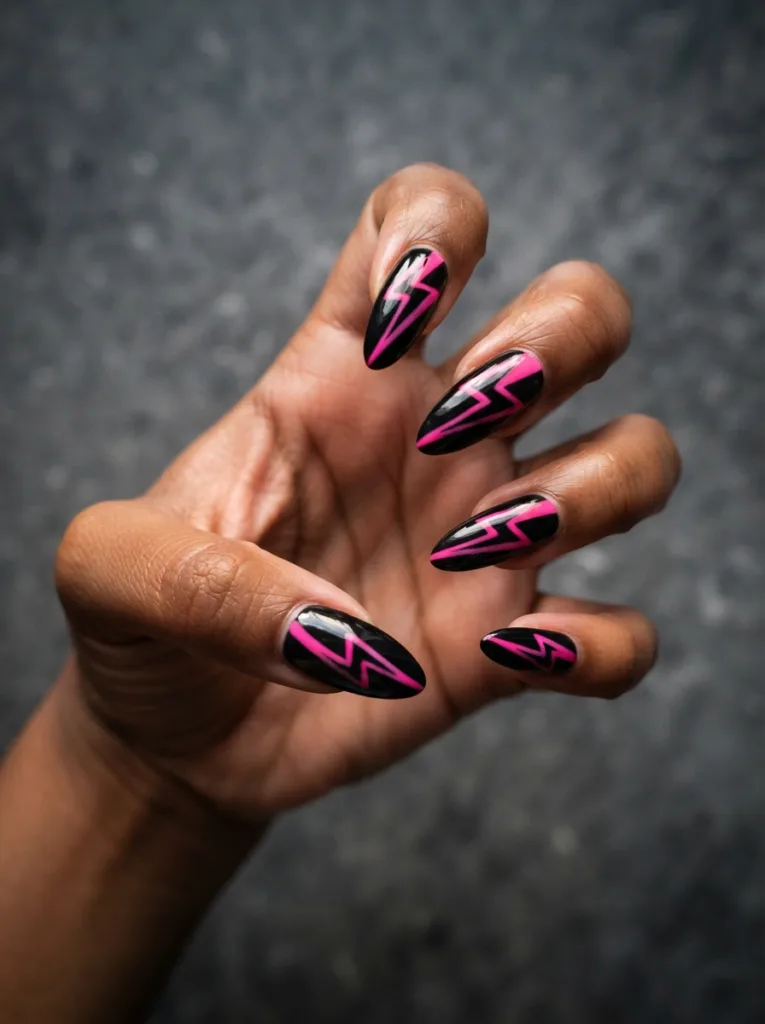
Jagged lightning bolts split nails diagonally, half black and half pink, for maximum voltage.
The sharp zigzag suits the edgier end of the Halloween spectrum. Stiletto or sharp almond shapes amplify the electric feel.
Cut lightning bolt guides from striping tape for the sharpest edges. Freehand bolts look shaky unless you have serious brush control.
Pink Coffin Nails with Black Crackle Finish
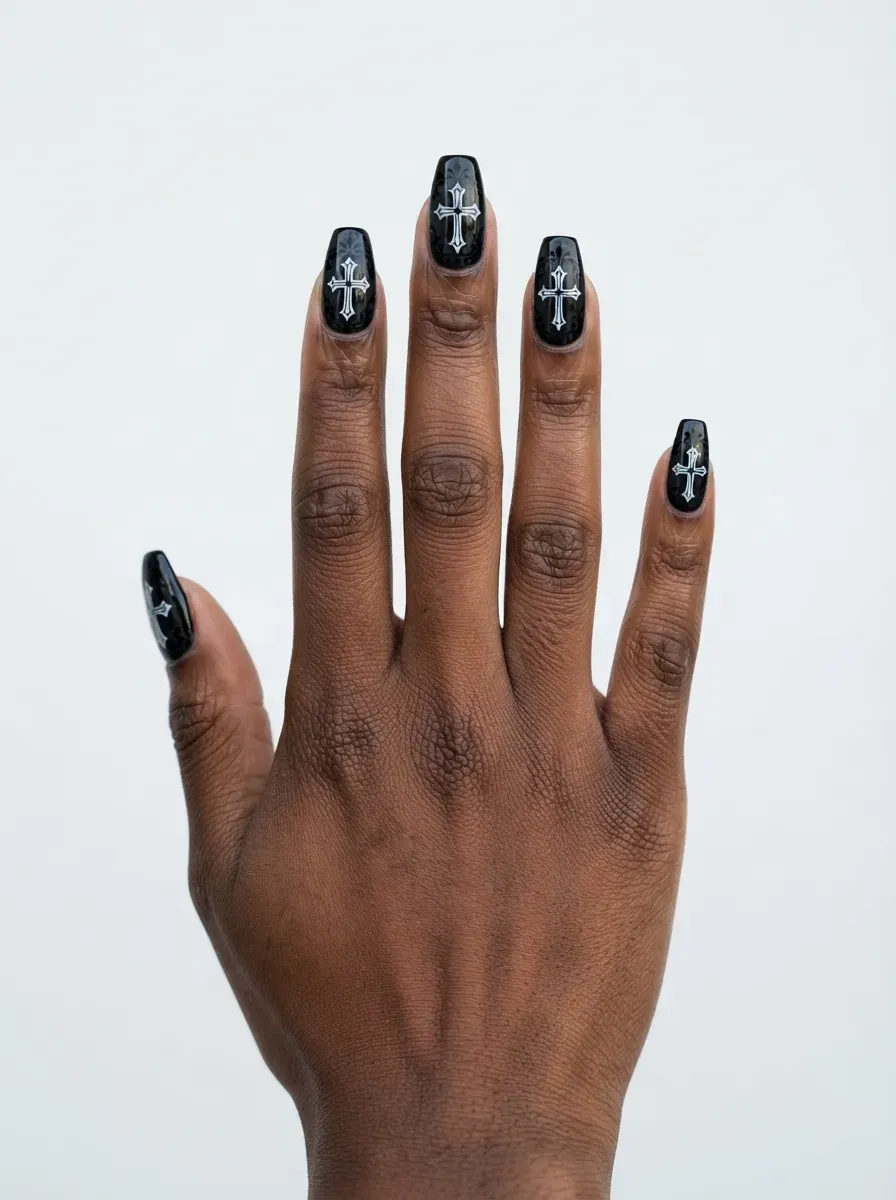
Black crackle polish shatters over hot pink to create a broken-glass effect with zero artistic skill required. The crackle does all the work as it dries and splits.
Long coffins give the cracks maximum surface to spread across dramatically.
Apply crackle over fully dry pink in one medium coat. Too thin and it barely cracks; too thick and it peels instead of shattering.
Continue reading 30+ Matching Halloween Nails for Couples and Best Friends
Why Black Chips First and How to Stop It
Black polish is honest about its flaws. Every chip shows as a pale crescent against the dark surface, while pink hides the same damage for days.
The chemistry explains it: dark pigments sit heavier in the formula, and the contrast with your natural nail makes any gap obvious. You cannot change the physics, but you can outsmart it.
Start with the free edge. Most chips begin where the polish meets the tip, so cap that edge with every single layer, base coat included.
Many people skip capping the base, which leaves the foundation exposed to water and friction. A wrapped edge holds color like a sealed envelope.
Cuticle oil matters more for black than any other shade. Dry cuticles pull polish away from the nail bed as they shrink, and black reveals that gap immediately.
Apply oil twice daily, morning and night. Your manicure will easily outlast your Halloween plans.
Matte or Glossy: Picking the Right Top Coat for Pink and Black
Top coat choice changes the entire personality of this color pairing. Glossy finish deepens black to a wet, vinyl look and makes hot pink look electric.
Matte absorbs light instead, giving black a soft charcoal depth and turning pink powdery and modern. Neither option is better; they simply serve different moods.
Consider your design before deciding. Fine linework like spiderwebs and lace reads sharper under gloss, which adds contrast between the art and the base.
Delicate details can blur slightly under matte, though the flat finish flatters bold graphic shapes like checkerboard and lightning bolts.
Mixed finishes, glossy art on a matte base, create the most striking effect of all.
The velvet look has a shorter lifespan than shine. Mattifying agents break down with hand oils and sanitizer, so the effect dulls within days.
If you want matte for a specific event, apply it the day before, not a week before.
The Muddy Pink Problem Nobody Warns You About
Pink turns muddy when black detail work bleeds into it, and the culprit is almost always timing.
Black polish dragged across pink that is not fully cured pulls dark pigment into the lighter color.
The result is a bruised, grayish pink that looks dirty rather than deliberate. Prevention beats correction every time.
Patience is the entire solution. Let pink layers cure completely before adding any black on top, even if the pink feels dry to the touch.
Surface dry and fully cured are different states, especially with thicker creme formulas. When in doubt, wait an extra five minutes.
Seal the pink with a quick-dry top coat before starting black detail work. The top coat acts as a barrier that stops bleeding even if your timing was optimistic.
This one extra step saves more manicures than any fancy brush technique.
What to Book at the Salon vs. What to Try at Home
Honest budgeting starts with knowing which designs need professional hands. Aura gradients, encapsulated glitter, chrome finishes, and 3D charms belong at the salon.
These techniques need specialized products, curing lamps, and practiced application that drugstore kits cannot replicate. Expect to pay for the expertise and the product cost.
French variations, half-moons, crackle polish, and simple stamping are genuinely achievable at home.
These designs rely on technique rather than equipment, and the learning curve is forgiving. A striping brush, dotting tool, and good lighting cover most of the DIY-friendly ideas here.
Time your appointment strategically. Book complex art three to five days before Halloween, not the day before, when salons are slammed and techs are rushed.
Simpler designs can go a full week early since black and pink both wear well when properly sealed.
Picking Your Design
Start with your real life, not the prettiest photo. Short nails and busy hands point toward simpler designs like black French tips or half-moons.
Longer lengths earn their keep with aura gradients, drips, and detailed art that needs room. For the office, keep pink dominant with black as the accent. For parties, flip the ratio and let black take over.
Match intensity to maintenance tolerance. Matte finishes and 3D charms demand more upkeep than glossy solids.
If you want two full weeks, choose designs with negative space or ombre fades that grow out gracefully. The right pink and black combo is the one you will still like on day ten.